

本文提供基于jQuery实现的图片自动轮播效果完整示例。通过HTML结构、CSS样式控制及jQuery脚本逻辑,实现图片的无缝切换与自动播放功能。代码包含详细的注释,适合前端开发者参考学习,可直接应用于网页展示场景。
jQuery图片轮播效果实现
本文展示了一个使用jQuery编写的简易图片轮播功能实现方案。
首先展示最终的运行效果,以便直观了解功能表现。
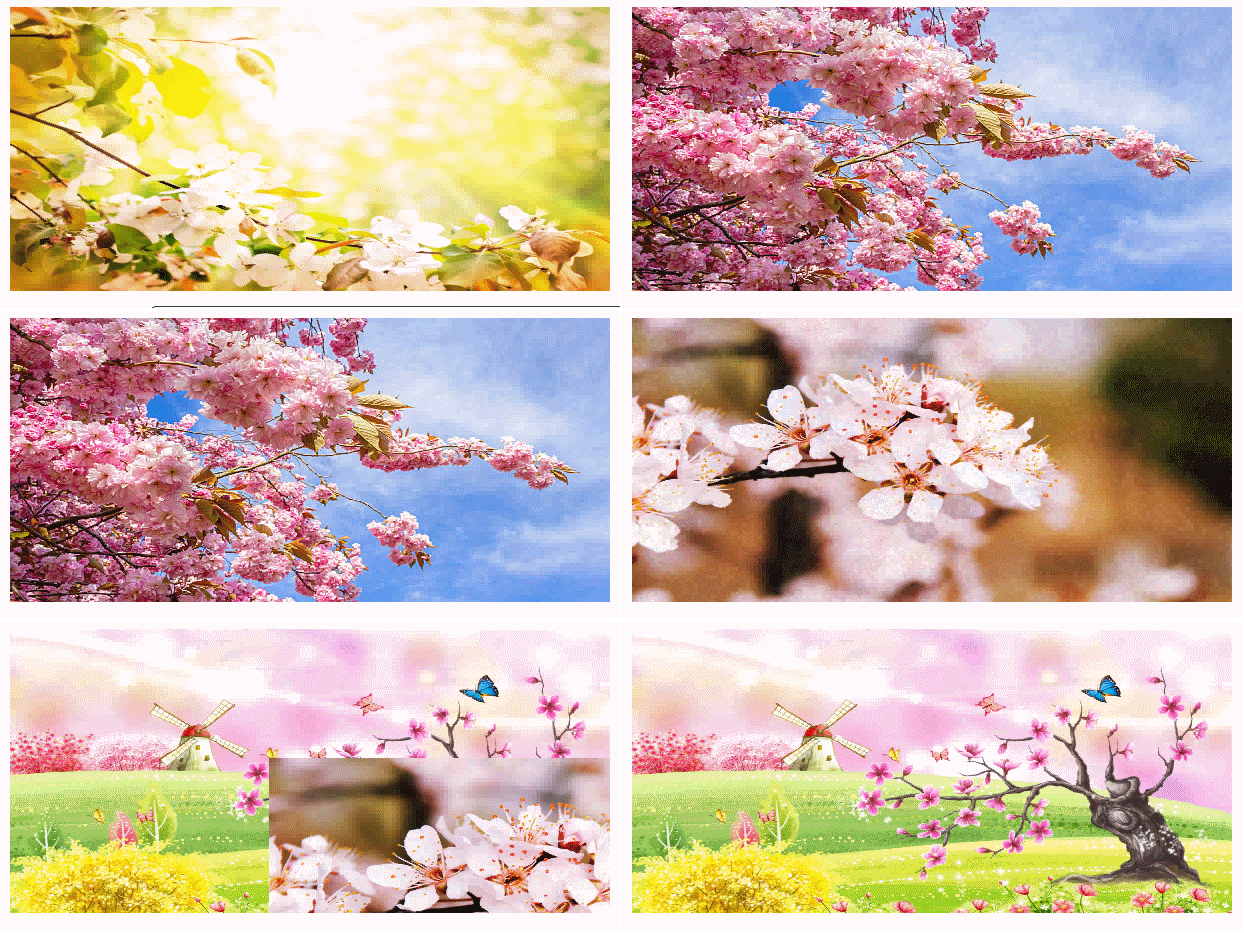
以下是实现该效果的具体代码实现。
<!DOCTYPE html>
<html>
<head>
<title>jquery实现图片轮播效果</title>
<meta http-equiv="Content-Type" content="text/html; charset=utf-8">
<script src="http://libs.baidu.com/jquery/2.0.0/jquery.min.js"></script>
<style>
#lunbo{width: 600px;height: 300px;margin: 0 auto;overflow: hidden;}
#pics{width: 600px;height: 300px;cursor: pointer;position: relative;}
ul li{width: 600px;height: 300px;list-style: none;position: absolute;top: 0;left: 0;display: none;}
img{width: 600px;height: 300px;}
</style>
</head>
<body>
<div id="lunbo">
  <ul id="pics">
    <li style="display: inline;"><img src="http://pic.qiantucdn.com/58pic/14/60/54/32n58PICxE6_1024.jpg"></li>
    <li><img src="http://pic.qiantucdn.com/58pic/19/09/94/5678b76f75315_1024.jpg"></li>
    <li><img src="http://pic.qiantucdn.com/58pic/19/39/22/01D58PICFx7_1024.jpg"></li>
    <li><img src="http://pic.qiantucdn.com/58pic/19/11/08/5679490f4892d_1024.jpg"></li>
    <li><img src="http://pic.qiantucdn.com/58pic/18/44/26/5620690acb188_1024.jpg"></li>
  </ul>
</div>
<script type="text/javascript">
$(document).ready(function(){
  var oLi = $("li");
  var liWidth = oLi.eq(0).width();
  var liHeight = oLi.eq(0).height();
   //每隔3秒进行轮播
  var timer = setInterval(change,3000);
    //鼠标放置在图片上时停止轮播,移开时继续轮播
    $("div").mouseover ( function(){
    clearInterval(timer);
  })
  $("div").mouseout (function(){
    timer = setInterval(change,3000);
  })
  //轮播函数
  var prevIndex = 0,nextIndex = 1;
  function change(){
    if (prevIndex == oLi.length-1 ) {//若当前图片是最后一张图片,下一张出现首张图片
      nextIndex = 0;
    }
    var n = Math.floor(Math.random()*3);
    if (n == 0) {
      fade(prevIndex,nextIndex);
    }
    else if (n== 2) {
      slide(prevIndex,nextIndex);
    }
    else{
      grap(prevIndex,nextIndex);
    }
    prevIndex = nextIndex;
    nextIndex ++;
  }
  //淡入淡出效果,
   function fade(prevIndex,nextIndex){
    //传入当前显示图片以及下一张图片的索引
    oLi.eq(prevIndex).fadeOut(1000);
    oLi.eq(nextIndex).fadeIn(1000);
   }
   //向左右滑动效果
   function slide(prevIndex,nextIndex){
    var rand = Math.floor(Math.random()*2);
    oLi.eq(nextIndex).show();
    oLi.eq(nextIndex).css("z-index","-1");
    if (rand) {
      //向左滑动
      oLi.eq(prevIndex).animate({left: -liWidth},1000,fun);
    }
    else{
      oLi.eq(prevIndex).animate({left: liWidth},1000,fun);
    }
    function fun(){
      oLi.eq(prevIndex).css({"left":"0","display":"none"});
      oLi.eq(nextIndex).css("z-index","1");
    }
   }
   //收缩效果
   function grap(prevIndex,nextIndex){
    var rand = Math.floor(Math.random()*4);
    oLi.eq(nextIndex).show();
    oLi.eq(nextIndex).css("z-index","-1");
    switch (rand){
      case 0://向左上角滑动
        oLi.eq(prevIndex).animate({left: -liWidth,top: -liHeight},1000,function(){
          oLi.eq(prevIndex).css({"left":"0","top": "0","display":"none"});
          oLi.eq(nextIndex).css("z-index","1");
        });break;
      case 1://向右上角滑动
        oLi.eq(prevIndex).animate({left: liWidth,top: -liHeight},1000,function(){
          oLi.eq(prevIndex).css({"left":'0',"top":"0","display":"none"});
          oLi.eq(nextIndex).css("z-index","1");
        });break;
      case 2://向右下角滑动
        oLi.eq(prevIndex).animate({left: liWidth,top: liHeight},1000,function(){
          oLi.eq(prevIndex).css({"left":'0',"top":"0","display":"none"});
          oLi.eq(nextIndex).css("z-index","1");
        });break;
      case 3://向左下角滑动
        oLi.eq(prevIndex).animate({left: -liWidth,top: liHeight},1000,function(){
          oLi.eq(prevIndex).css({"left":'0',"top":"0","display":"none"});
          oLi.eq(nextIndex).css("z-index","1");
        });break;
      default:break;
    }
   }
  });
</script>
</body>
</html>
如需进一步了解jQuery相关技术,可参考本站专题:《jQuery图片操作技巧大全》、《jQuery切换特效与技巧总结》、《jQuery拖拽特效与技巧总结》、《jQuery扩展技巧总结》、《jQuery常见经典特效汇总》、《jquery选择器用法总结》及《jQuery常用插件及用法总结》。
希望本文提供的代码示例能对您的jQuery编程实践有所帮助。