

本文详细介绍如何利用Webpack配置React多页面应用。通过清理Create React App默认依赖,手动配置Babel、HtmlWebpackPlugin等核心插件,实现多个独立页面的构建与开发调试,适合需要精简脚手架的开发者参考。
多页面应用构建背景与目标
编写此教程的初衷在于市面上缺乏简洁的项目脚手架,许多现有方案包含大量冗余依赖,排查耗时较长。因此,本文参考网络资源,构建一个精简的多页面应用脚手架示例。
初始化React应用
首先,利用create-react-app工具初始化一个React应用。
npm install -g create-react-app接着,在终端中执行命令创建项目文件夹。
create-react-app democreate-react-app会自动初始化脚手架并安装React项目所需的各种依赖。若安装过程中遇到网络问题,建议使用cnpm淘宝镜像进行安装。
创建完成后,进入项目目录并启动服务。
cd demo执行启动命令以运行项目。
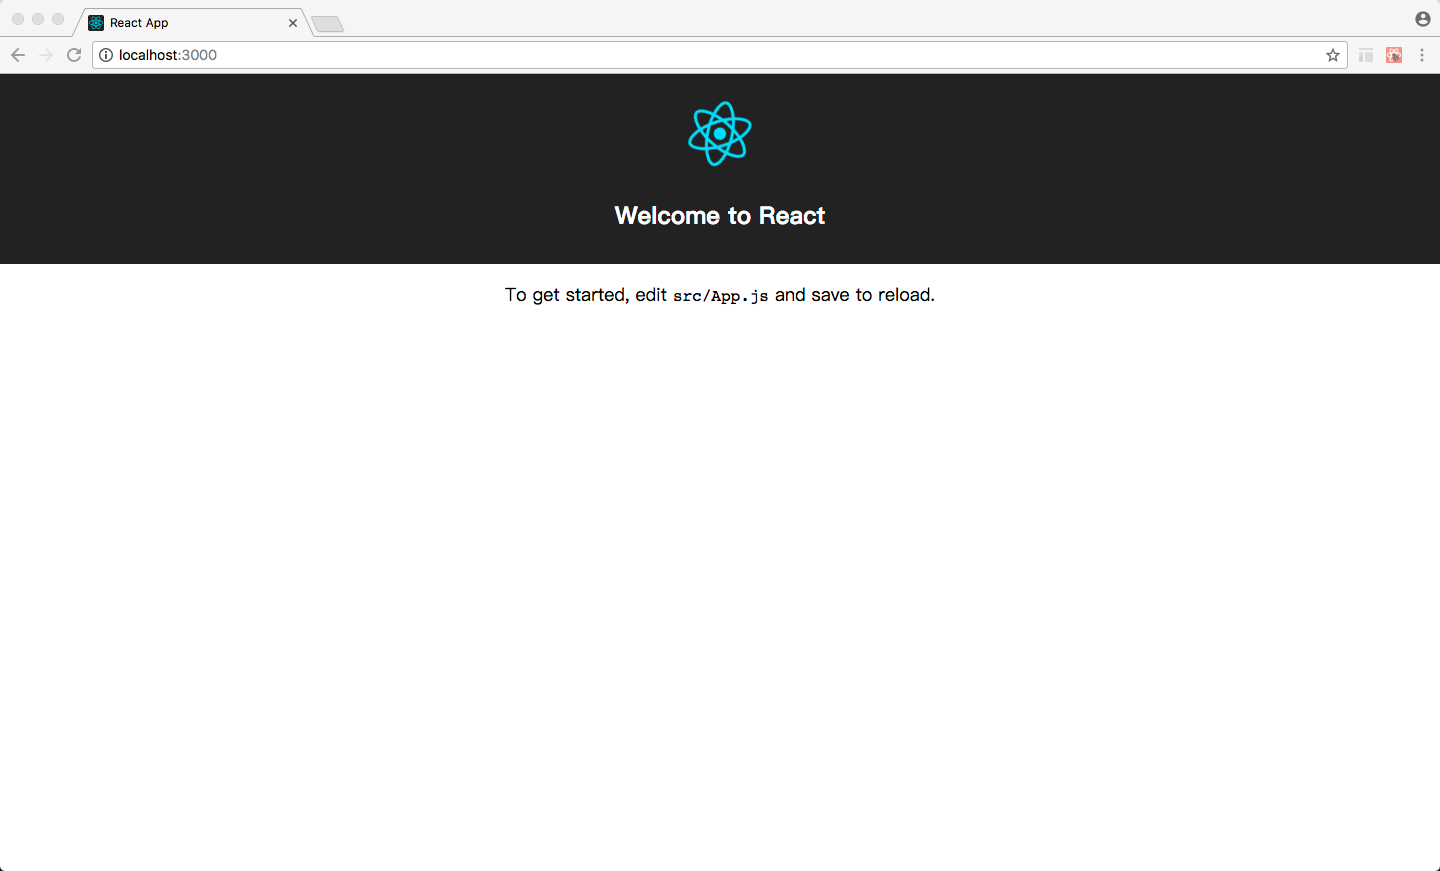
npm start启动成功后,浏览器将显示默认欢迎页面。
随后,打开src/App.js文件,使用以下代码替换原有内容(因当前配置暂不处理图片和icon资源)。
import React, { Component } from 'react';
import './App.css';

class App extends Component {
 render() {
  return (
   <div className="App">
    <div className="App-header">
     <h2>Welcome to App</h2>
    </div>
    <p className="App-intro">
     To get started, edit <code>src/App.js</code> and save to reload.
    </p>
   </div>
  );
 }
}

export default App
接着,将index.js中的内容替换为如下代码(移除registerServiceWorker相关逻辑)。
import React from 'react';
import ReactDOM from 'react-dom';
import './index.css';
import App from './App';


ReactDOM.render(<App />, document.getElementById('root'));
然后,删除src目录下的registerServiceWorker.js(该文件用于构建PWA应用,当前暂不需要)、logo.svg文件(避免处理图片资源)以及App.test.js(测试文件)。
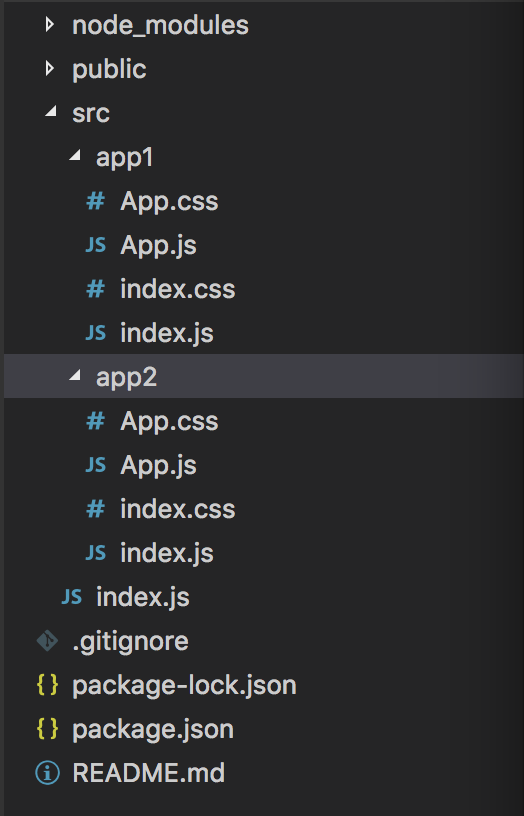
此时src目录下剩余四个文件。接下来,在src目录下新建app1和app2两个文件夹,并将原有的四个文件分别拷贝至这两个文件夹中。目录结构如下所示:
随后,进入public文件夹,删除favicon.ico(避免处理)和manifest.json(PWA构建文件),并将index.html的内容替换为以下代码。
<!doctype html>
<html lang="en">
 <head>
  <meta charset="utf-8">
  <meta name="viewport" content="width=device-width, initial-scale=1, shrink-to-fit=no">
  <meta name="theme-color" content="#000000">
  <title>React App</title>
 </head>
 <body>
  <noscript>
   You need to enable JavaScript to run this app.
  </noscript>
  <div id="root"></div>
 </body>
</html>
该index.html即作为我们的模板HTML文件。
Webpack配置与构建流程
进入核心环节,开始安装Webpack并进行配置。
第一步,安装依赖。使用以下代码替换package.json文件内容。
{
 "name": "demo",
 "version": "0.1.0",
 "private": true,
 "dependencies": {
  "react": "^15.6.1",
  "react-dom": "^15.6.1"
 },
 "devDependencies": {
  "babel-core": "^6.26.0",
  "babel-loader": "^7.1.2",
  "babel-preset-es2015": "^6.24.1",
  "babel-preset-react": "^6.24.1",
  "clean-webpack-plugin": "^0.1.16",
  "css-loader": "^0.28.7",
  "extract-text-webpack-plugin": "^3.0.0",
  "file-loader": "^1.0.0",
  "glob": "^7.1.2",
  "html-webpack-plugin": "^2.30.1",
  "postcss-loader": "^2.0.6",
  "style-loader": "^0.18.2",
  "url-loader": "^0.5.9",
  "webpack": "^3.5.6",
  "webpack-dev-server": "^2.8.1"
 },
 "scripts": {
  "start": "webpack-dev-server --open",
  "build": "webpack"
 }
}
第二步,删除当前目录下的node_modules文件夹,然后在控制台重新执行安装命令。
npm i 第三步,在根目录(即/demo目录下)新建webpack.config.js文件,并写入如下配置代码。
const webpack = require('webpack');
const glob = require('glob');
const path = require('path');
const HtmlWebpackPlugin = require('html-webpack-plugin');
const ExtractTextPlugin = require('extract-text-webpack-plugin');
const CleanWebpackPlugin = require('clean-webpack-plugin');

const webpackConfig = {
  entry: {},
  output:{
    path:path.resolve(__dirname, './dist/'),
    filename:'[name].[chunkhash:6].js'
  },
  //设置开发者工具的端口号,不设置则默认为8080端口
  devServer: {
    inline: true,
    port: 8181
  },
  module:{
    rules:[
      {
        test:/\.js?$/,
        exclude:/node_modules/,
        loader:'babel-loader',
        query:{
          presets:['es2015','react']
        }
      },
      {
        test: /\.(scss|sass|css)$/,
        loader: ExtractTextPlugin.extract({fallback: "style-loader", use: "css-loader"})
      },

    ]
  },
  plugins: [
    new ExtractTextPlugin("[name].[chunkhash:6].css"),
    new CleanWebpackPlugin(
      ['dist'],
      {
        root: __dirname,
        verbose: true,
        dry:   false
      }
    )
  ],
};

// 获取指定路径下的入口文件
function getEntries(globPath) {
  const files = glob.sync(globPath),
   entries = {};
  files.forEach(function(filepath) {
    const split = filepath.split('/');
    const name = split[split.length - 2];
    entries[name] = './' + filepath;
  });
  return entries;
}

const entries = getEntries('src/**/index.js');

Object.keys(entries).forEach(function(name) {
  webpackConfig.entry[name] = entries[name];
  const plugin = new HtmlWebpackPlugin({
    filename: name + '.html',
    template: './public/index.html',
    inject: true,
    chunks: [name]
  });
  webpackConfig.plugins.push(plugin);
})

module.exports = webpackConfig;
第四步,直接执行构建命令。
npm run build构建成功后,可在dist目录下看到生成的app1和app2两个页面文件。
如需进行本地调试,可直接启用npm run start命令,随后在localhost:8181/app1.html地址查看页面并进行调试。
以上就是本文的全部内容,希望对大家的学习有所帮助,也希望大家多多支持本站。