

本文详细解析如何利用HTML5结构、CSS样式及JavaScript逻辑实现Tab栏切换功能。通过浮动布局与类名控制展示状态,结合事件委托机制优化性能,并引入自定义属性index进行排他处理,从而实现Tab组件的灵活复用与交互效果。
一、效果展示
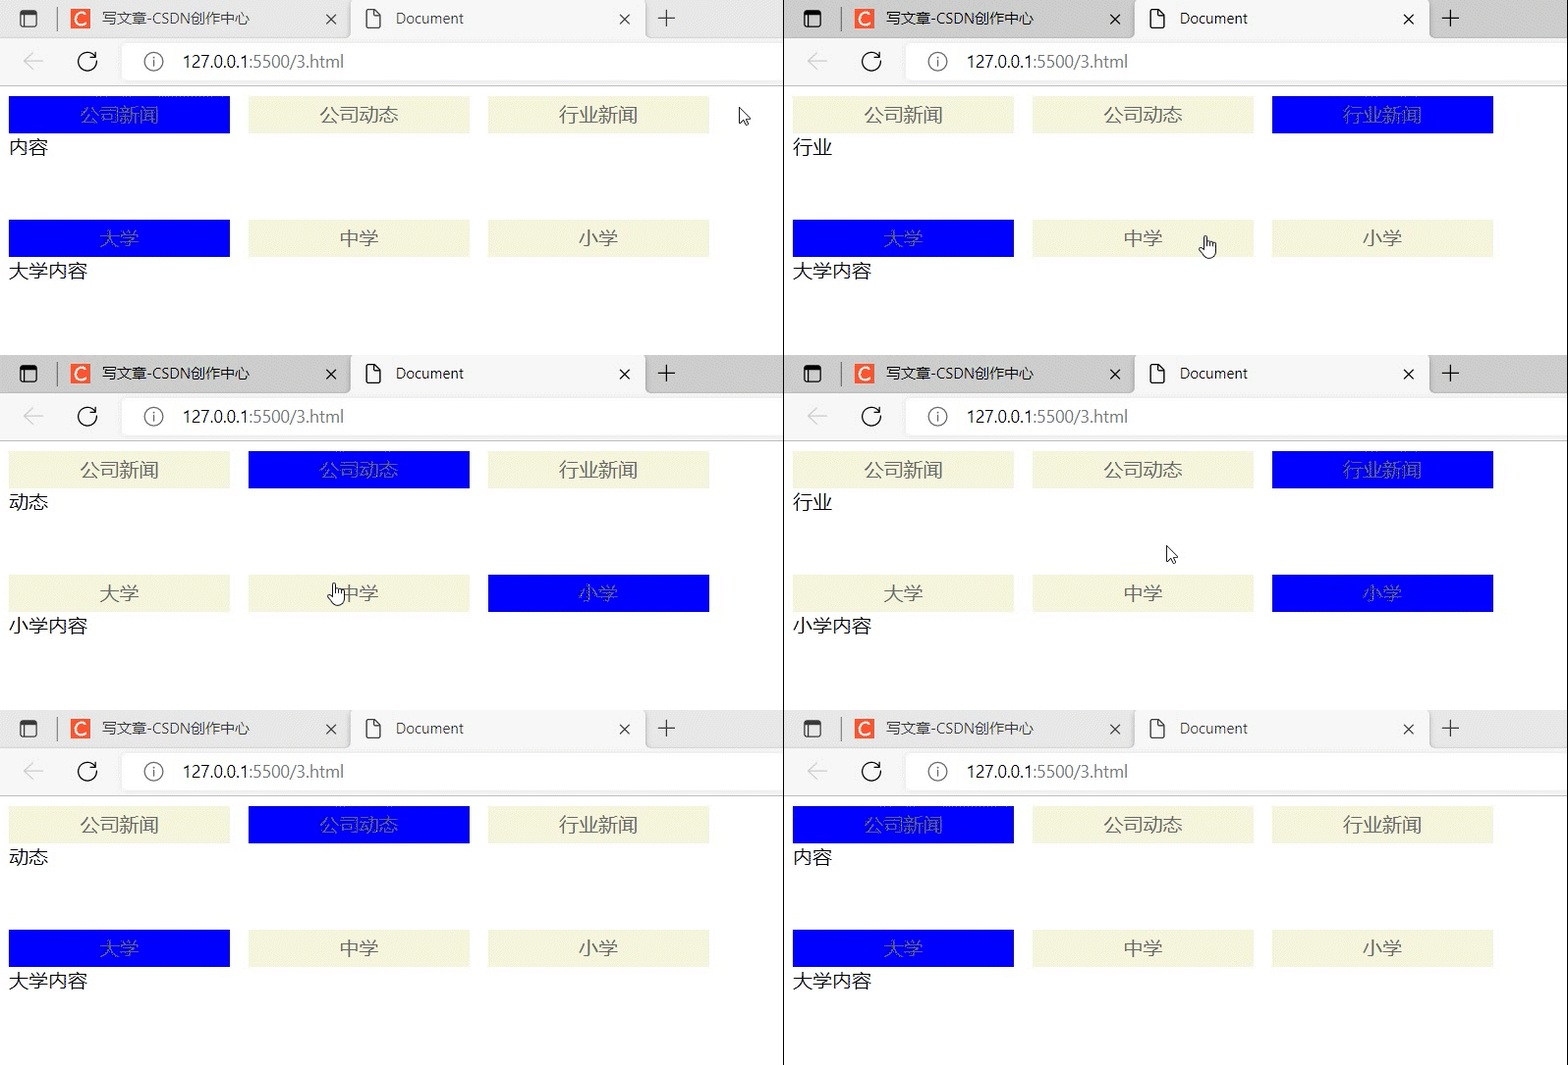
二、实现的大致原理
1. 首先利用CSS与HTML5构建基础的Tab栏视觉样式(参考相关代码)。
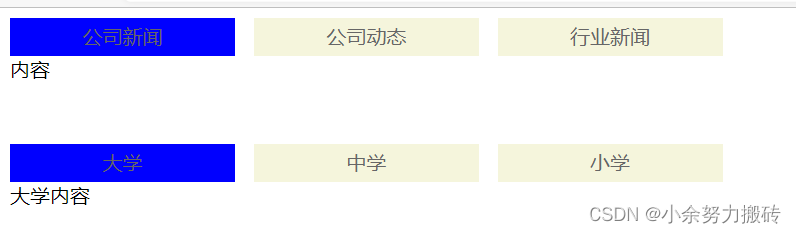
2. 在确定样式后,为可点击的目标元素绑定监听事件。通过获取DOM节点并设置自定义属性index,用于定位点击后需高亮的节点。随后执行元素查找与样式重置:取消所有节点的激活状态,仅对当前点击的节点应用特定效果。节点获取路径主要依赖:点击元素→父元素→子元素→兄弟元素→兄弟元素的子元素(具体细节见代码注释)。
三、H5的布局
布局部分无特殊之处,采用常规写法即可,关键在于合理运用选择器进行结构定义。
    <div class="tab">
        <div class="nav">
            <a href="javascript:;" rel="external nofollow"  rel="external nofollow"  rel="external nofollow"  rel="external nofollow"  rel="external nofollow"  rel="external nofollow"  rel="external nofollow"  rel="external nofollow"  rel="external nofollow"  rel="external nofollow"  rel="external nofollow"  rel="external nofollow"  class="hover">公司新闻</a>
            <a href="javascript:;" rel="external nofollow"  rel="external nofollow"  rel="external nofollow"  rel="external nofollow"  rel="external nofollow"  rel="external nofollow"  rel="external nofollow"  rel="external nofollow"  rel="external nofollow"  rel="external nofollow"  rel="external nofollow"  rel="external nofollow" >公司动态</a>
            <a href="javascript:;" rel="external nofollow"  rel="external nofollow"  rel="external nofollow"  rel="external nofollow"  rel="external nofollow"  rel="external nofollow"  rel="external nofollow"  rel="external nofollow"  rel="external nofollow"  rel="external nofollow"  rel="external nofollow"  rel="external nofollow" >行业新闻</a>
        </div>
        <div class="nav_con">
            <div>内容</div>
            <div>动态</div>
            <div>行业</div>
        </div>
    </div>

    <div class="tab">
        <div class="nav">
            <a href="javascript:;" rel="external nofollow"  rel="external nofollow"  rel="external nofollow"  rel="external nofollow"  rel="external nofollow"  rel="external nofollow"  rel="external nofollow"  rel="external nofollow"  rel="external nofollow"  rel="external nofollow"  rel="external nofollow"  rel="external nofollow"  class="hover">大学</a>
            <a href="javascript:;" rel="external nofollow"  rel="external nofollow"  rel="external nofollow"  rel="external nofollow"  rel="external nofollow"  rel="external nofollow"  rel="external nofollow"  rel="external nofollow"  rel="external nofollow"  rel="external nofollow"  rel="external nofollow"  rel="external nofollow" >中学</a>
            <a href="javascript:;" rel="external nofollow"  rel="external nofollow"  rel="external nofollow"  rel="external nofollow"  rel="external nofollow"  rel="external nofollow"  rel="external nofollow"  rel="external nofollow"  rel="external nofollow"  rel="external nofollow"  rel="external nofollow"  rel="external nofollow" >小学</a>
        </div>
        <div class="nav_con">
            <div>大学内容</div>
            <div>中学内容</div>
            <div>小学内容</div>
        </div>
    </div>
四、CSS样式
为实现视频中的视觉效果,需配置基础样式。利用浮动使元素排列在同一行,注意浮动会脱离文档流。可为a标签设定宽高及外边距以优化视觉呈现。需特别注意内容区域的显隐控制,默认状态下仅显示第一个Tab对应的内容。
        a{
            text-decoration: none;
            width: 180px;
            height: 30px;
            line-height: 30px;
            text-align: center;
            color: #666;
            float: left;
            margin-right: 15px;
        }
        .nav a{
            background-color: beige;
        }
        .nav a.hover{
            background-color: blue;
        }
        .nav_con div:first-child~div{
            display: none;
        }
        .nav::after{
            content: '';
            display: block;
            clear: both;
        }
    .nav_con{
        margin-bottom: 50px;
    }
五、JS代码内容
执行流程按顺序如下:
获取相关DOM元素。
利用事件委托机制,在父级元素上添加监听器。
首先获取当前点击元素的父节点,再通过该父节点获取其所有子节点。
应用排他思想,重置其他节点的样式。
为每个子节点添加自定义属性index。
读取当前被点击的nav a元素上的index属性值。
获取当前元素的父级元素,进而获取其兄弟元素,并定位到对应的子元素。
控制当前nav_con显示对应内容。
为当前点击节点添加hover样式类。
 let navNodes = document.querySelectorAll('.nav');
         for(let i=0;i<navNodes.length;i++){
        //通过委派给父亲添加监听事件
    navNodes[i].addEventListener('click',function(e){
        //先获得当前的父节点,在通过父节点获得所有的子节点
 let navs = e.target.parentNode.children;
        //设置排他思想
    for(let j=0;j<navs.length;j++){
    navs[j].className='';
        //给每一个子节点加上一个自定义属性 index
    navs[j].setAttribute("index",j)
}
        //获取当前被点击的nav a上面的属性index
 let thisIndex = e.target.getAttribute("index");
        //获取当前元素的父级元素,在获得父级的兄弟,在找到子元素
 let nav_cons = e.target.parentNode.nextElementSibling.children;
        for(let j=0;j<nav_cons.length;j++){
        nav_cons[j].style.display = "none";
}
        //当前nav_con 显示内容
        nav_cons[thisIndex].style.display="block"

       //当前节点获得hover样式
        e.target.className = "hover"
})
}
六、完整代码
<!DOCTYPE html>
<html lang="en">
<head>
    <meta charset="UTF-8">
    <meta http-equiv="X-UA-Compatible" content="IE=edge">
    <meta name="viewport" content="width=device-width, initial-scale=1.0">
    <title>Document</title>
    <style>
        a{
            text-decoration: none;
            width: 180px;
            height: 30px;
            line-height: 30px;
            text-align: center;
            color: #666;
            float: left;
            margin-right: 15px;
        }
        .nav a{
            background-color: beige;
        }
        .nav a.hover{
            background-color: blue;
        }

        .nav_con div:first-child~div{
            display: none;
        }
        .nav::after{
            content: '';
            display: block;
            clear: both;
        }
    .nav_con{
        margin-bottom: 50px;
    }
    </style>
</head>
<body>
    <div class="tab">
        <div class="nav">
            <a href="javascript:;" rel="external nofollow"  rel="external nofollow"  rel="external nofollow"  rel="external nofollow"  rel="external nofollow"  rel="external nofollow"  rel="external nofollow"  rel="external nofollow"  rel="external nofollow"  rel="external nofollow"  rel="external nofollow"  rel="external nofollow"  class="hover">公司新闻</a>
            <a href="javascript:;" rel="external nofollow"  rel="external nofollow"  rel="external nofollow"  rel="external nofollow"  rel="external nofollow"  rel="external nofollow"  rel="external nofollow"  rel="external nofollow"  rel="external nofollow"  rel="external nofollow"  rel="external nofollow"  rel="external nofollow" >公司动态</a>
            <a href="javascript:;" rel="external nofollow"  rel="external nofollow"  rel="external nofollow"  rel="external nofollow"  rel="external nofollow"  rel="external nofollow"  rel="external nofollow"  rel="external nofollow"  rel="external nofollow"  rel="external nofollow"  rel="external nofollow"  rel="external nofollow" >行业新闻</a>
        </div>
        <div class="nav_con">
            <div>内容</div>
            <div>动态</div>
            <div>行业</div>
        </div>
    </div>

    <div class="tab">
        <div class="nav">
            <a href="javascript:;" rel="external nofollow"  rel="external nofollow"  rel="external nofollow"  rel="external nofollow"  rel="external nofollow"  rel="external nofollow"  rel="external nofollow"  rel="external nofollow"  rel="external nofollow"  rel="external nofollow"  rel="external nofollow"  rel="external nofollow"  class="hover">大学</a>
            <a href="javascript:;" rel="external nofollow"  rel="external nofollow"  rel="external nofollow"  rel="external nofollow"  rel="external nofollow"  rel="external nofollow"  rel="external nofollow"  rel="external nofollow"  rel="external nofollow"  rel="external nofollow"  rel="external nofollow"  rel="external nofollow" >中学</a>
            <a href="javascript:;" rel="external nofollow"  rel="external nofollow"  rel="external nofollow"  rel="external nofollow"  rel="external nofollow"  rel="external nofollow"  rel="external nofollow"  rel="external nofollow"  rel="external nofollow"  rel="external nofollow"  rel="external nofollow"  rel="external nofollow" >小学</a>
        </div>
        <div class="nav_con">
            <div>大学内容</div>
            <div>中学内容</div>
            <div>小学内容</div>
        </div>
    </div>


    <script>
        let navNodes = document.querySelectorAll('.nav');
         for(let i=0;i<navNodes.length;i++){
        //通过委派给父亲添加监听事件
            navNodes[i].addEventListener('click',function(e){
                //先获得当前的父节点,在通过父节点获得所有的子节点
                let navs = e.target.parentNode.children;
                for(let j=0;j<navs.length;j++){
                    navs[j].className='';
                    //给每一个子节点加上一个自定义属性 index
                    navs[j].setAttribute("index",j)
                }
                //获取当前被点击的nav a上面的属性index
                let thisIndex = e.target.getAttribute("index");
                //获取当前元素的父级元素,在获得父级的兄弟,在找到子元素
                let nav_cons = e.target.parentNode.nextElementSibling.children;
                for(let j=0;j<nav_cons.length;j++){
                    nav_cons[j].style.display = "none";
                }
                //当前nav_con 显示内容
                nav_cons[thisIndex].style.display="block"

                //当前节点获得hover样式
                e.target.className = "hover"
            })
         }


    </script>
</body>
</html>
总结
至此,关于如何通过JavaScript、CSS、H5实现简单的tab栏切换和复用功能的文章介绍完毕。更多相关JS、CSS、H5实现tab栏切换和复用内容,请搜索本站以前的文章或继续浏览下面的相关文章,希望大家以后多多支持本站!