

本文介绍 TypeScript 中类的使用及修饰器机制。通过定义 mix 函数实现方法混合到类实例,详解 public、private、protected 访问修饰符,readonly 只读属性及 static 静态成员的使用规则。同时阐述类通过 implements 实现多个接口,以及接口支持多继承的特性,帮助开发者掌握 TypeScript 面向对象编程的核心概念。
TypeScript 使用修饰器将方法混合到类中
文件名为 mixins.ts
//导出混合方法
export function mix(...args){
    return function (t){
        Object.assign(t.prototype,...args);//添加方法到对象原型
    }
}
文件名为 test_mixins.ts
import { mix} from './mixins';//导入混合方法
//声明要混合入类的方法
let methodToMix = {
    MixFunc(){console.log('this method use for Mix');}
}

@mix(methodToMix)//在类声明中使用了修饰器@mix
class MyClass{}

let obj = new MyClass();//实例化类,类对象具有修饰器混入的方法MixFunc
obj.MixFunc();//调用混入的方法
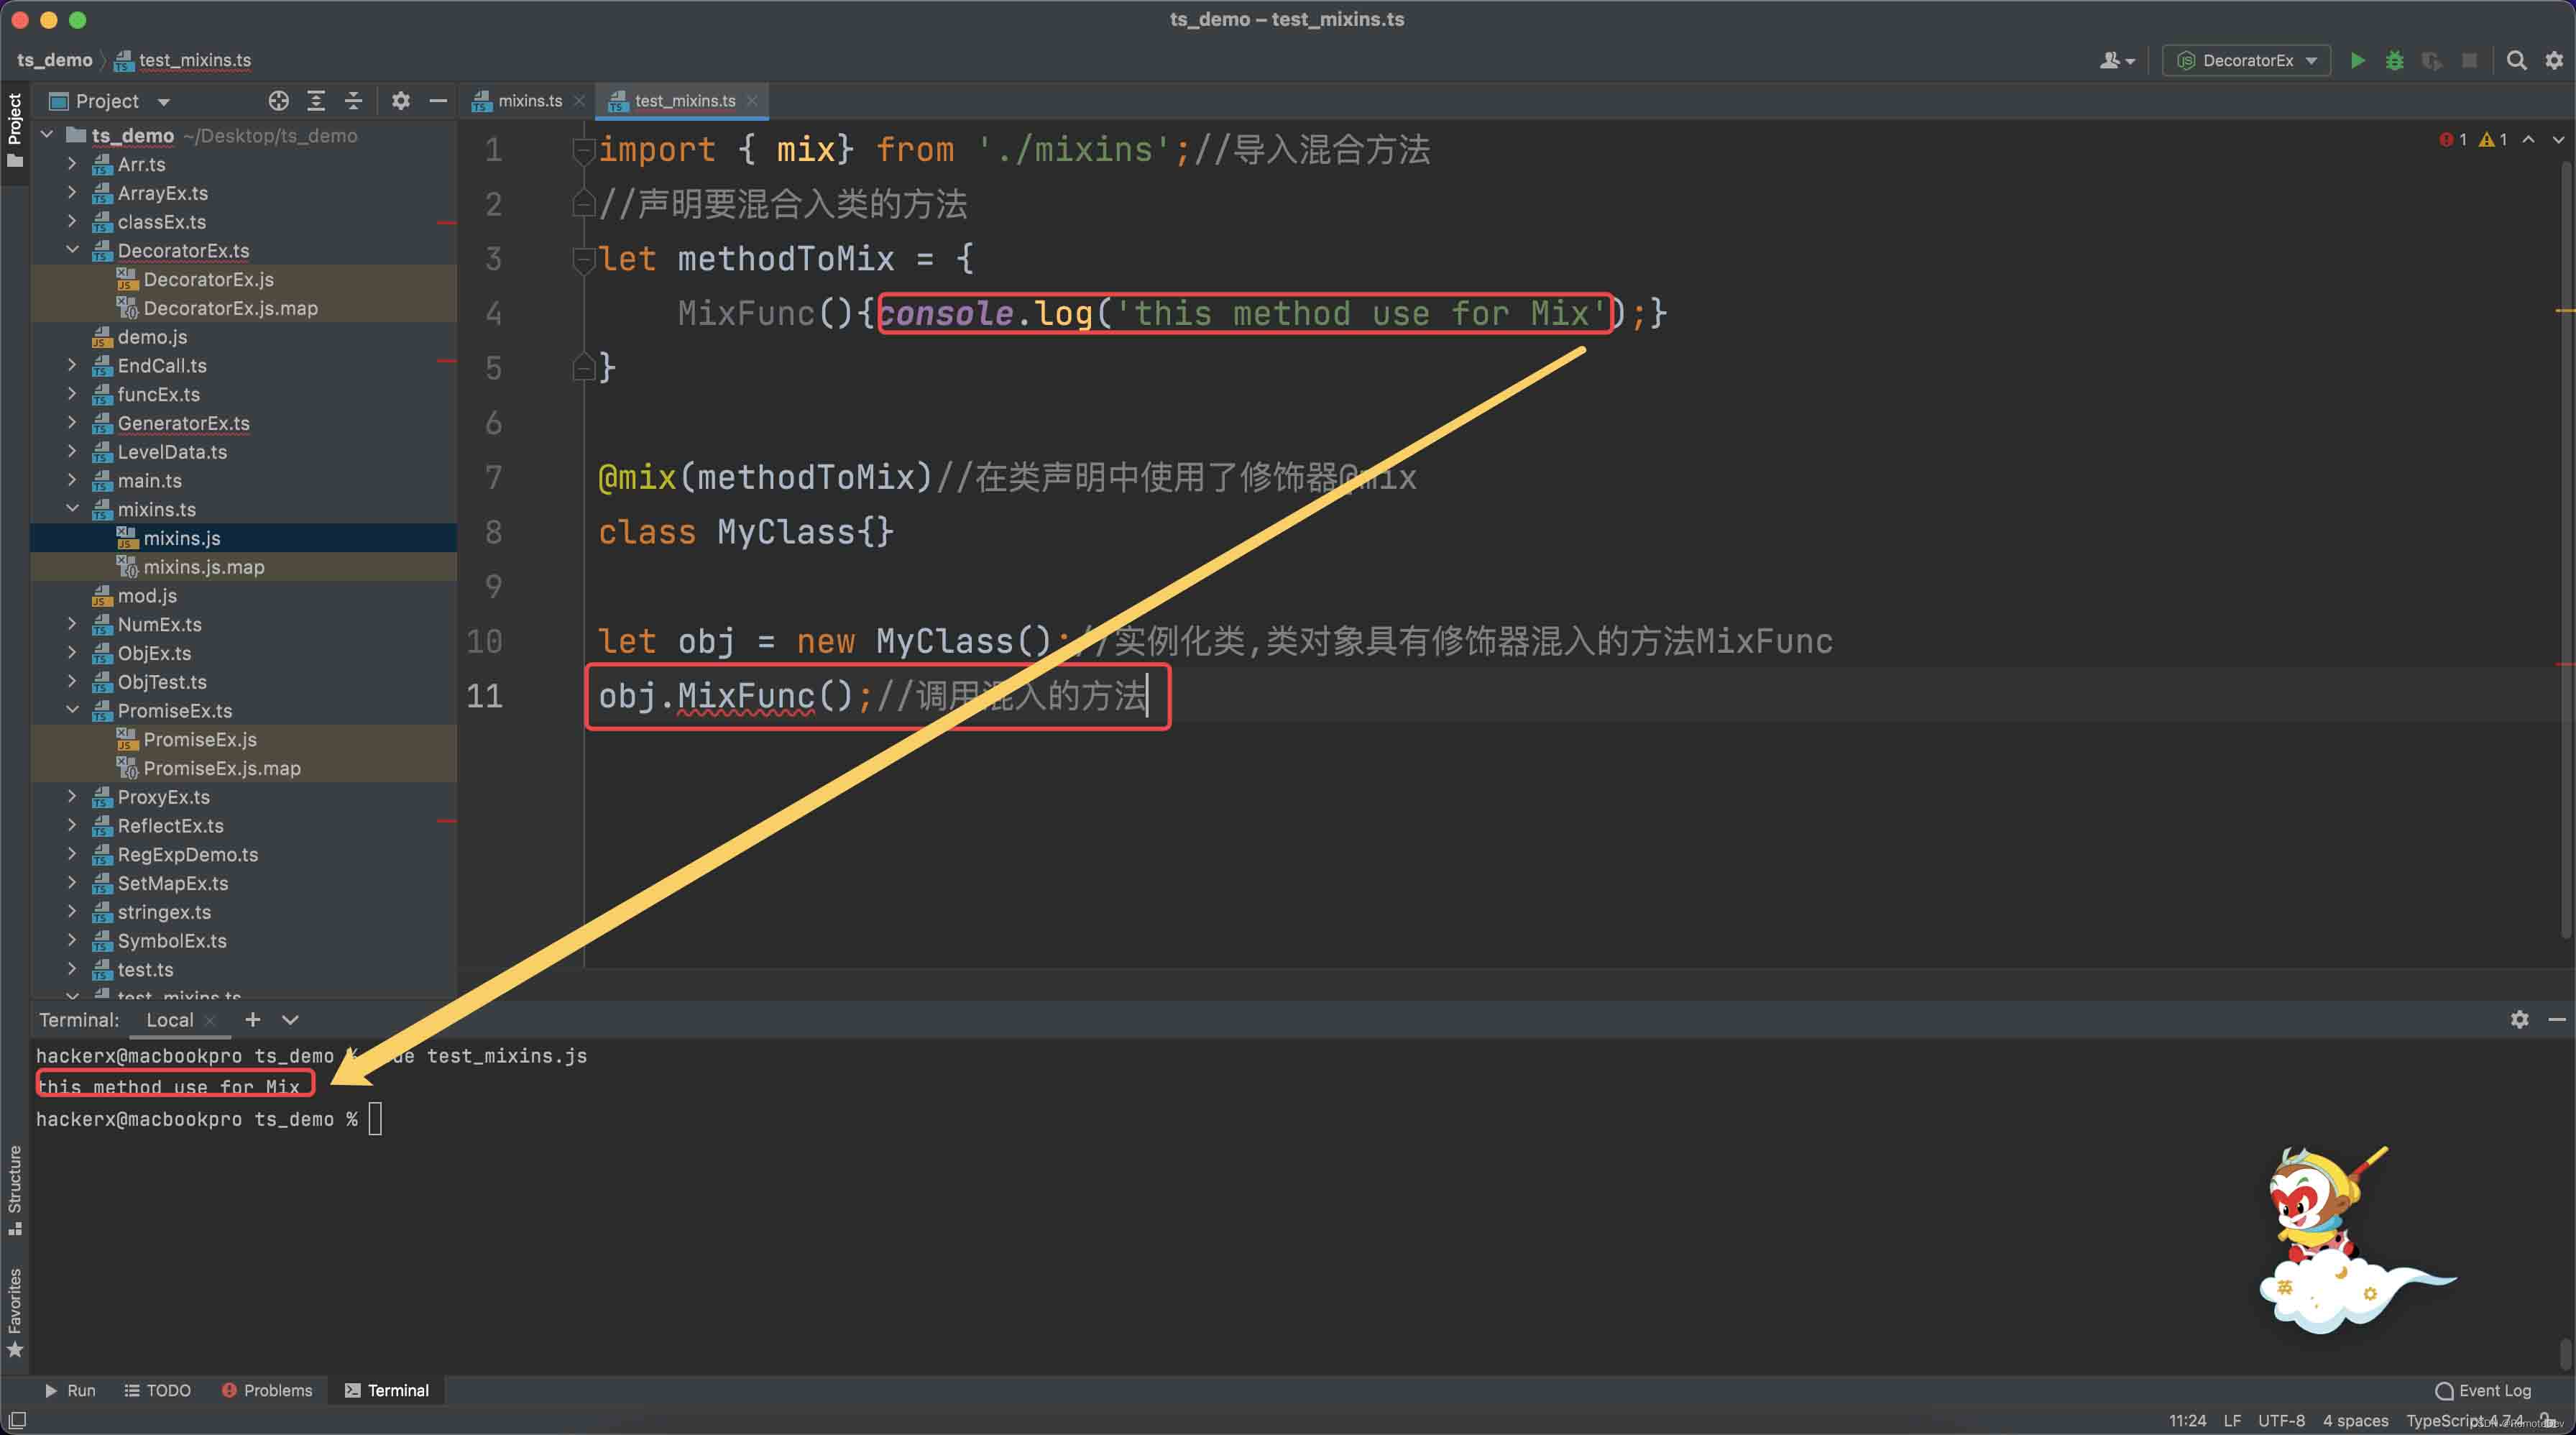
测试结果如下
TypeScript 类与修饰符的使用
简介
使用 class 关键字可以定义一个类,随后通过 new 关键字能够方便地生成该类的实例对象,这一生成过程称为实例化。类的成员包含类中定义的所有属性和方法。
// 定义类
class Person {
  // 名称
  name: string
  // 年龄
  age: number
  // 构造函数
  constructor(name: string, age: number) {
    // 更新熟悉数据
    this.name = name
    this.age = age
  }
}

// 发送一个人的信息
function sendPerson (person: Person) {
  console.log(`姓名:${person.name},年龄:${person.age}`)
}

// 实例化对象
const p = new Person('dzm', 20)
sendPerson(p) // 名称:dzm,年龄:20
当使用 new 创建实例时,实际是调用了类中的一个初始化方法,该方法称为构造器。通常需要在类中显式定义 constructor 方法;若未显式定义,系统将调用默认的构造函数。
成员修饰符
访问修饰符用于限制对类内部成员的访问权限。
访问修饰符
public:表示公开访问,任何地方均可使用(默认即为 public)private:表示私有访问,仅类自身可使用,子类及外部均无法访问protected:表示受保护访问,仅类及其子类可使用,外部无法访问
// 定义类
class Person {
  // 公开参数
  name: string
  // 公开参数
  public age: number
  // 私有参数
  private num:number = 10
  // 内部参数
  protected num1: number = 20
  // 构造函数
  constructor(name: string, age: number) {
    // 更新熟悉数据
    this.name = name
    this.age = age
  }
  // 发送个人信息
  public send() {
    console.log('发送成功1')
  }
  // 私有方法
  private post() {
    console.log('发送成功2')
  }
}
只读修饰符
readonly:表示属性只能读取,不能写入
class Person {
  // 声明赋值
  readonly name = 'dzm'
}
let p = new Person()
console.log(p.name)
// 不能赋值
// p.name = 'xxx'
readonly 修饰的属性仅在 constructor 构造方法初始化时或声明时赋值,此后不可修改其值。
class Person{
  readonly name: string
  // 构造初始化赋值
  constructor(name: string) {
    this.name =  name
  }
}
静态修饰符
static:表示静态成员无需实例化,可直接通过类名调用
// 定义类
class Person {
  // 公开参数
  name: string
  // 公开参数
  public age: number
  // 静态参数
  static num:number = 10
  // 构造函数
  constructor(name: string, age: number) {
    // 更新熟悉数据
    this.name = name
    this.age = age
  }
  // 发送个人信息
  static send() {
    console.log('发送成功')
  }
}

// 不需要实例化对象,通过类名就能进行访问
console.log(Person.num)
Person.send()
总结
1、上述内容共涉及三种修饰符类型:访问修饰符、只读修饰符和静态修饰符。
2、修饰符是可选的,若未指定任何修饰符,则默认为 public。
3、同一类成员只能应用一种类型的修饰符,即上述三种修饰符可以组合使用来修饰一个成员。
4、三种修饰符存在先后顺序,分别为:访问、静态、只读,即顺序为 public/static/protected、static、readonly。
实现(implements)
类可以被多个接口协议所约束,类本身也可作为接口使用,即在 implements 关键字后可添加单个或多个接口与类。
格式为:class 类名 implements 接口名, 接口名, 类名 ... {}
例如:class Person implements Action, Info {}
案例
// 定义行动接口
interface Action {
  // 跑起来
  run():void
}

// 定义信息接口
interface Info {
  // 用户名称
  name: string
}

// 定义一个类,并实现上面的接口
class Person implements Action, Info {
  // 用户名称
  name: string
  // 跑起来
  run(): void {
    console.log(`${this.name} 跑起来了`)
  }
}

// 定义一个类,并实现上面的类接口
class Person2 implements Person {
  name: string
  run(): void {
    console.log(`${this.name} 跑起来了`)
  }
}

// 实例化
const p = new Person()
p.name = 'DZM'
p.run()

// 实例化
const p2 = new Person2()
p2.name = 'XYQ'
p2.run()
继承(extends)
类不能直接继承接口协议(interface),必须通过 implements 关键词进行实现,且支持实现多个接口协议。
类不支持多继承,即 extends 关键字后只能存在一个父类,但可以通过实现多个接口协议来模拟多继承效果。
- 格式为:class 类名 extends 类名 implements 接口名, 接口名, 类名 ... {}
- 例如:class Person3 extends Person implements Action, Info {}
接口支持多继承。
- 格式为:interface 接口名 extends 接口名, 接口名, 类名 ... {}
- 例如:interface Person extends Action, Info {}
案例
// 定义行动接口
interface Action {
  // 跑起来
  run():void
}

// 定义信息接口
interface Info {
  // 用户名称
  name: string
}

// 定义一个类,并实现上面的接口
class Person implements Action, Info {
  // 用户名称
  name: string
  // 跑起来
  run(): void {
    console.log(`${this.name} 跑起来了`)
  }
}

// 定义一个类,并实现上面的类接口
class Person2 extends Person {
  name: string
  run(): void {
    console.log(`${this.name} 跑起来了`)
  }
}

// 定义一个类,并实现上面的类接口
class Person3 extends Person implements Action, Info {
  name: string
  run(): void {
    console.log(`${this.name} 跑起来了`)
  }
}

// 实例化
const p = new Person()
p.name = 'DZM'
p.run()

// 实例化
const p2 = new Person2()
p2.name = 'XYQ'
p2.run()
以上为个人经验总结,希望能给大家提供参考,也希望大家多多支持本站。