

本文详细介绍如何使用HTML5 Canvas和JavaScript实现拖动滑块拼图验证功能。通过绘制源图、生成随机缺失区域、截取验证块及处理鼠标交互事件,完整展示从初始化到验证逻辑的代码实现过程,适用于前端安全验证场景。
引言:
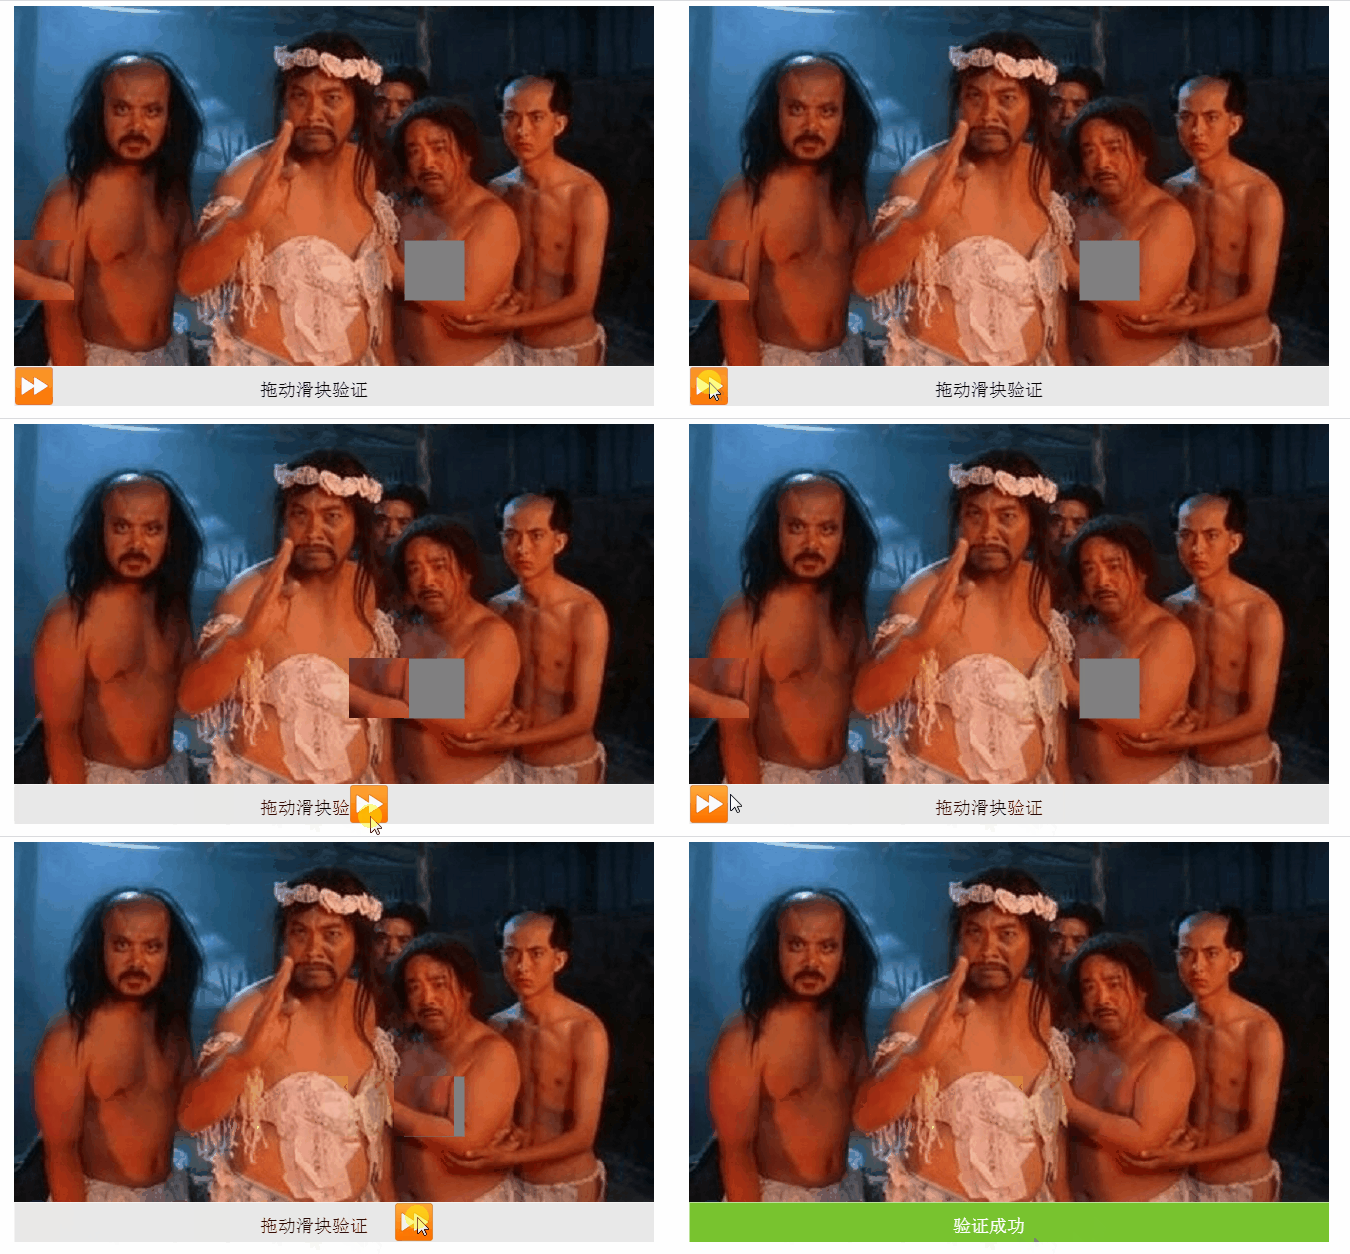
滑块拖动验证功能在各类应用中广泛使用。本文分享了一个周末开发的实现案例,供有需要的朋友参考。效果展示如下:
实现思路:
首先使用一个画布绘制源图像,并在其上绘制一个填充的矩形以模拟缺失效果,该矩形的坐标是随机生成的;
接着使用另一个画布绘制拖动块,利用drawImage方法截取与上述矩形坐标和大小相同的源图像区域,作为验证图放置在左侧;
在拖动块区域监听鼠标按下事件,随后拖动时,拖动块和验证图将跟随鼠标移动,当移动到指定范围后松开鼠标,系统将进行验证;
若验证通过,则提示成功;若验证失败,拖动块和验证图将复位至最左侧。
3个构造函数 图片构造函数
//图片对象ImageDraw构造函数
	function ImageDraw(o,obj){
		this.id='',
		this.image=0,//图片对象(必填)
		this.sx=0,//图片切片开始x位置(显示整个图片的时候不需要填)
		this.sy=0,//图片切片开始y位置(显示整个图片的时候不需要填)
		this.sWidth=0, //图片切片开始宽度(显示整个图片的时候不需要填)
		this.sHeight=0,//图片切片开始高度(显示整个图片的时候不需要填)
		this.dx=0, //图片目标x位置(必填)
		this.dy=0, //图片目标y位置(必填)
		this.dWidth=0,//图片目标显示宽度(宽度不缩放时不必填)
		this.dHeight=0//图片目标高度高度(高度不缩放时不必填)

		this.init(o,obj);
	}
	ImageDraw.prototype.init=function(o,obj){
		for(var key in o){
			this[key]=o[key];
		}
		return this;
	}
	ImageDraw.prototype.render=function(context){
		draw(context,this);
		function draw(context,obj) {
			var ctx=context;
			ctx.save();

			if(!obj.image || getType(obj.dx)=='undefined' || getType(obj.dy)=='undefined'){
				throw new Error("绘制图片缺失参数");
				return;
			}
			ctx.translate(obj.dx,obj.dy);
			if(getType(obj.sx)!='undefined' && getType(obj.sy)!='undefined' && obj.sWidth && obj.sHeight && obj.dWidth && obj.dHeight){
				//裁剪图片,显示时候有缩放
				ctx.drawImage(obj.image, obj.sx, obj.sy, obj.sWidth, obj.sHeight, 0, 0, obj.dWidth, obj.dHeight);
			}else if(obj.dWidth && obj.dHeight){
				ctx.drawImage(obj.image, 0, 0, obj.dWidth, obj.dHeight);//原始图片,显示时候有缩放
			}else{
				ctx.drawImage(obj.image,0, 0);//原始图片,显示时候无缩放
			}
			ctx.restore();
		}
	}
	ImageDraw.prototype.isPoint=function(pos){
		//鼠标位置的x、y要分别大于dx、dy 且x、y要分别小于 dx+dWidth、dy+dHeight
		if(pos.x>this.dx && pos.y>this.dy && pos.x<this.dx+this.dWidth && pos.y<this.dy+this.dHeight ){//表示处于当前图片对象范围内
			return true;
		}
		return false;
	}
方形构造函数
function Rect(o){
		this.x=0,//x坐标
		this.y=0,//y坐标
		this.width=100,//宽
		this.height=40,//高
		this.thin=true,//线段薄一点

		this.init(o);
	}

	Rect.prototype.init=function(o){
		for(var key in o){
			this[key]=o[key];
		}
	}
	Rect.prototype.render=function(context){
		this.ctx=context;
		innerRender(this);

		function innerRender(obj){
			var ctx=obj.ctx;
			ctx.save()
			ctx.beginPath();
			ctx.translate(obj.x,obj.y);

			if(obj.lineWidth){
				ctx.lineWidth=obj.lineWidth;
			}
			if(obj.thin){
				ctx.translate(0.5,0.5);
			}
			ctx.rect(0,0,obj.width,obj.height);
			if(obj.fill){//是否填充
				obj.fillStyle?(ctx.fillStyle=obj.fillStyle):null;
				ctx.fill();
			}
			if(obj.stroke){//是否描边
				obj.strokeStyle?(ctx.strokeStyle=obj.strokeStyle):null;
				ctx.stroke();
			}
		 	ctx.restore();
		}
	 	return this;
	}
文本构造函数
function Text(o){
		this.x=0,//x坐标
		this.y=0,//y坐标
		this.text='',//内容
		this.font=null;//字体
		this.textAlign=null;//对齐方式

		this.init(o);
	}

	Text.prototype.init=function(o){
		for(var key in o){
			this[key]=o[key];
		}
	}
	Text.prototype.render=function(context){
		this.ctx=context;
		innerRender(this);

		function innerRender(obj){
			var ctx=obj.ctx;
			ctx.save()
			ctx.beginPath();
			ctx.translate(obj.x,obj.y);

			if(obj.font){
				ctx.font=obj.font;
			}
			if(obj.textAlign){
				ctx.textAlign=obj.textAlign;
			}
			if(obj.fill){//是否填充
				obj.fillStyle?(ctx.fillStyle=obj.fillStyle):null;
				ctx.fillText(obj.text,0,0);
			}
		 	ctx.restore();
		}
	 	return this;
	}
绘制源图和缺失块
var img = new ImageDraw({image:this.imgObj[0],dx:0, dy:0 ,dWidth:640,dHeight:360},this);
		this.renderArr.push(img);

var x=_.getRandom(100,580);//x从100-580之间取
		var y=_.getRandom(0,300);//y从0-300之间取

		this.validPos={x:x,y:y};
		//缺失块绘制
		var rect = new Rect({
			x:x,
			y:y,
			width:60,
			height:60,
			fill:true,
			fillStyle:'gray'
		})
		this.renderArr.push(rect);

		//绘制验证块长条
		var rect = new Rect({
				x:0,
				y:360,
				width:640,
				height:40,
				fill:true,
				fillStyle:'#E8E8E8'
		})
		this.renderArr.push(rect);

		//绘制文字
		var text = new Text({
			x:300,
			y:390,
			text:'拖动滑块验证',
			font:'18px serif',
			textAlign:'center',
			fill:true,
			//fillStyle:'white'
		});
		this.renderArr.push(text);
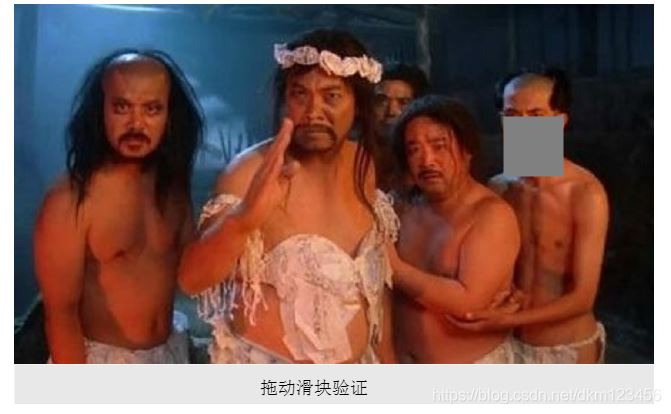
此时页面效果如下
绘制验证图和拖动块
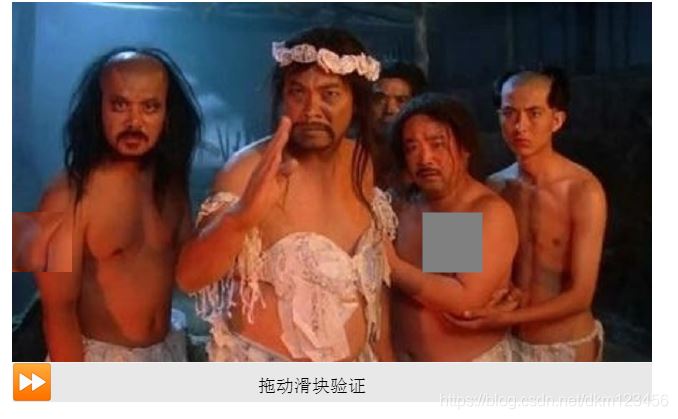
注意:验证图的绘制坐标与上一步绘制缺失块的坐标是一致的。
var pos = this.validPos;//上一步绘制缺失块的坐标,验证图需根据这个坐标来截取
var img = new ImageDraw({image:this.imgObj[0],sx:pos.x,sy:pos.y,sWidth:60,sHeight:60,dx:0, dy:pos.y,dWidth:60,dHeight:60},this);
this.renderArr2.push(img);

var img1 = new ImageDraw({image:this.imgObj[1],dx:0, dy:360 ,dWidth:40,dHeight:40},this);
this.renderArr2.push(img1);
效果图:
画布2添加事件
//给canvas画布添加点击事件
canvas2.addEventListener('mousedown',this.mouseDown.bind(this));
canvas2.addEventListener('mouseup',this.mouseUp.bind(this));
canvas2.addEventListener('mousemove',this.mouseMove.bind(this));
鼠标按下事件
- 记录鼠标按下时的x坐标,以确保鼠标移动时滑块不飘移。
- 将移动标记设置为true,防止未拖动滑块时产生误移动效果。
Slider.prototype.mouseDown=function(e){
			var pos = _.getOffset(e);//获取鼠标位置
			if(!this.block) return ;
			if(this.block.isPoint(pos)){//按下的位置是滑块的位置
				this.move=true;//表示可以移动
				this.downX=pos.x;//记录鼠标按下的位置,保持移动
			}
	}
鼠标移动事件
- 计算验证图和滑块移动距离时,需减去鼠标点击的初始X坐标。
- 当移动超过一定范围时禁止继续移动,防止滑块移出画布边界。
Slider.prototype.mouseMove=function(e){
		if(!this.move) return ;//移动标记为false则直接返回
		var pos = _.getOffset(e);
		pos.x -= this.downX;//要减去鼠标初始点击的位置
		if(pos.x>580){
			return ;
		}
		this.update(pos);//移动
	}
	//更新
	Slider.prototype.update=function(pos){
		//更改滑块和验证图的坐标
		_.each(this.renderArr2,function(item){
			if(item){
				item.dx=pos.x;
			}
		});

		//绘制
		this.render();
	}
鼠标放开事件
- 将鼠标移动move标记重置为false;
- 若未到达验证范围即松开鼠标,滑块和验证图将返回至最左侧;
- 当验证图的移动位置达到指定范围时,判定为验证通过;
验证通过后,提示验证成功,并执行相关状态变更,例如清除缺失块、更新提示文字等;
Slider.prototype.mouseUp=function(e){
		this.move=false;
		var pos = _.getOffset(e);
			pos.x -= this.downX;
		var validPos = this.validPos;//验证快的坐标
		if(Math.abs(pos.x-validPos.x )<=10){//验证通过(x位置的差值多少范围内即可)
			console.log('通过')
			this.suc();
		}else{//验证不通过
			this.update({x:0});
		}
		this.render();
	}

	Slider.prototype.suc=function(){
		this.renderArr.splice(2,1);//清楚缺失块
		this.block=null;
		//滑块和验证图的清除
		this.renderArr2.length=0;
		//长条颜色的改变
		this.renderArr[1].fillStyle='#78C430';

		var text = this.renderArr[2];
		//提示内容的改变
		text.fillStyle='white';
		text.text="验证成功";
	}
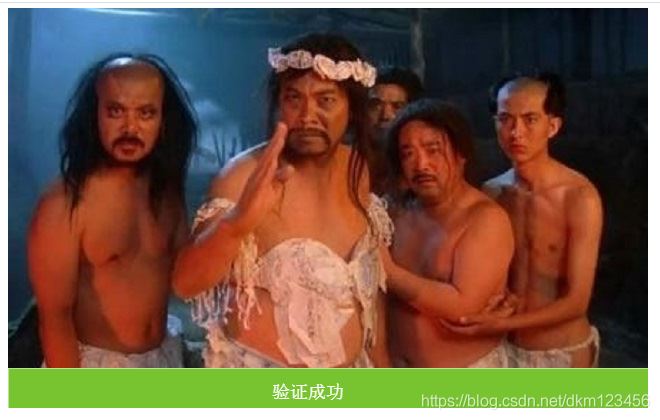
成功后如下:
完整代码下载
到此这篇关于JavaScript实现拖动滑块拼图验证(html5、canvas)的文章就介绍到这了,更多相关js实现拖动滑块拼图验证内容请搜索本站以前的文章或继续浏览下面的相关文章希望大家以后多多支持本站!