

本文通过具体代码示例,详细演示Vue中父子组件之间的数据传递机制。首先介绍父组件如何通过Props属性向子组件传递数据,接着讲解子组件如何利用$emit触发自定义事件将数据回传给父组件。文章涵盖组件注册、属性绑定及事件监听等核心步骤,帮助开发者掌握Vue双向数据通信的基础实现。
Vue父子组件通信示例概述
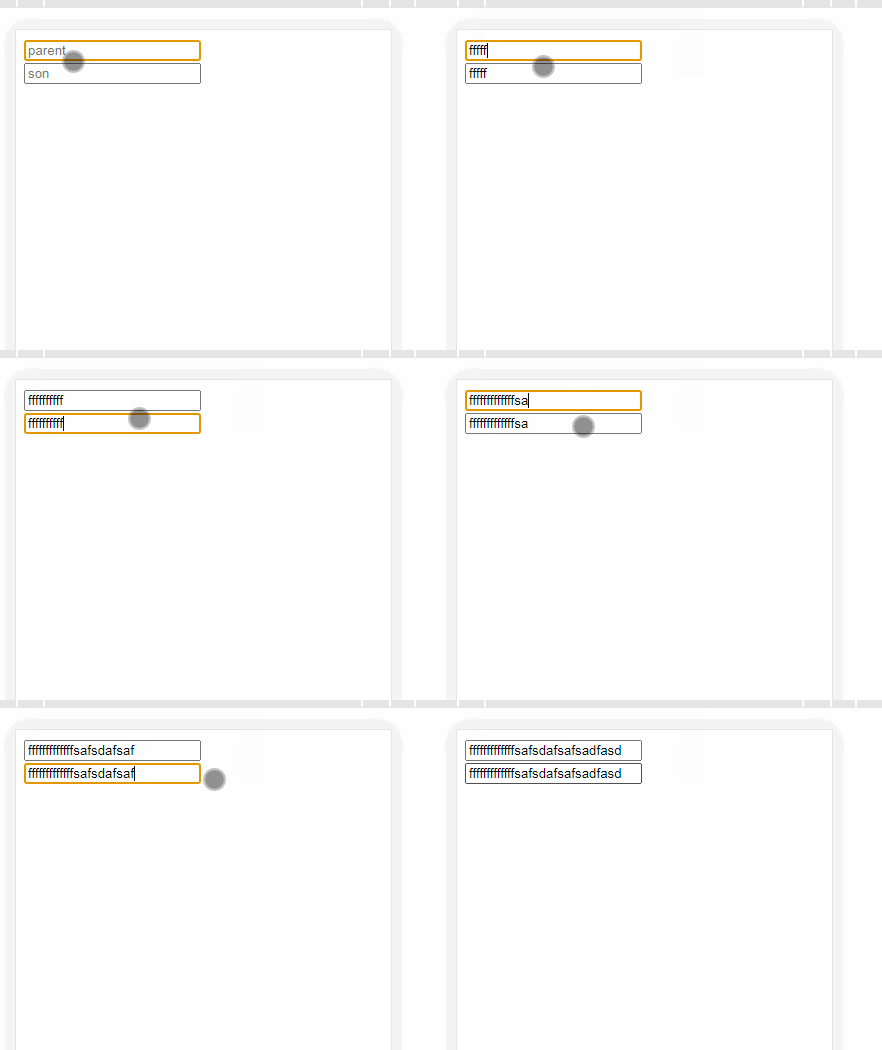
本示例通过两个输入框的交互,直观展示父子组件间的数据传递过程,具体效果如下图所示。
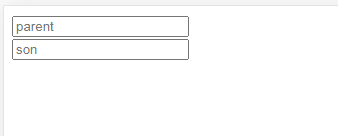
首先需要在代码中注册父组件与子组件,基础结构代码如下所示。
<div id="app">
    <parent></parent>
  </div>

  <template id="parent">
    <div>
      <input type="text" v-model="text" placeholder="parent">
      <son></son>
    </div>
  </template>
  <template id="son">
    <div>
      <input type="text" placeholder="son">
    </div>
  </template>
new Vue({
    el: "#app",
    components: {
      parent: {
        template: '#parent',
        data() {
          return {
            text: ''
          }
        },
        components: {
          son: {
            template: '#son'
          }
        }
      }
    }
  })
父组件向子组件传递数据
一、父传子
在父组件模板中,通过绑定属性的方式将数据传递给子组件。
 <template id="parent">
    <div>
      <input type="text" v-model="text" placeholder="parent">
      <son :text="text"></son>//通过属性值传递
    </div>
  </template>
子组件内部则通过props选项来接收父组件传递过来的数据。
 components: {
          son: {
            template: '#son',
            props:['text'] //通过props属性接受父传递过来的值
          }
        }
完成上述配置后,即可在子组件中直接使用父组件传递的值。
 <template id="son">
    <div>
      <input type="text" placeholder="son" :value="text">//使用父元素传递过来的值
    </div>
  </template>
此时查看页面运行效果如下。
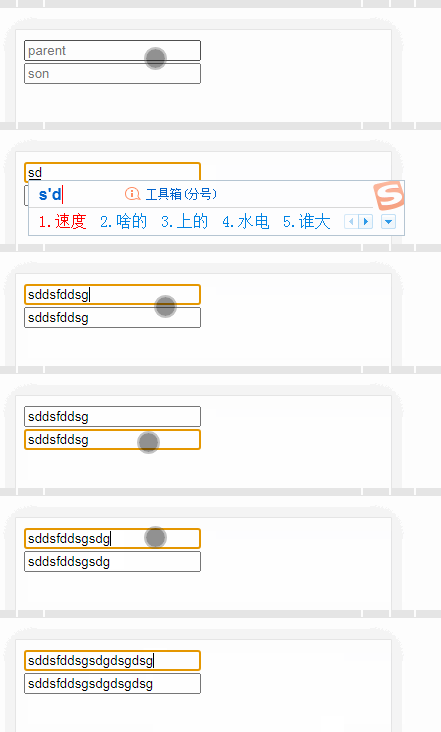
可以看到,父组件向子组件传递数据已成功实现。
子组件向父组件传递数据
二、子传父
实现子传父需要父组件定义自定义事件,子组件则通过$emit(event, arguments)方法触发该事件。
<template id="parent">
    <div>
      <input type="text" v-model="text" placeholder="parent">
      <son :text="text" @ev="item"></son>//自定义事件
    </div>
  </template>


components: {
      parent: {
        template: '#parent',
        data() {
          return {
            text: ''
          }
        },
        components: {
          son: {
            template: '#son',
            props: ['text']
          }
        },
        methods: {
          item(v) { //自定义事件触发的方法
            this.text = v //使用子组件传递过来的值改变this.text数据
          }
        }
      }
    }
在子组件中,当特定条件满足时触发自定义事件。
<template id="son">
    <div>
      <input type="text" placeholder="son" :value="text" @input="emit" ref="son">//触发自定义事件
    </div>
  </template>


components: {
      parent: {
        template: '#parent',
        data() {
          return {
            text: ''
          }
        },
        components: {
          son: {
            template: '#son',
            props: ['text'],
            methods: {
              emit() {
                this.$emit('ev', this.$refs.son.value) //触发自定义事件,并传递值
              }
            }
          }
        },
        methods: {
          item(v) {
            this.text = v
          }
        }
      }
    }
至此,子传父与父传子的双向通信均已完成,页面效果也已验证无误。
总结
以上就是Vue父子组件间值传递的完整实现过程,更多相关Vue父子值传递内容请搜索本站以前的文章或继续浏览下面的相关文章希望大家以后多多支持本站!