

本文介绍如何使用 Three.js 构建一个简易的 3D 自动泊车系统。内容涵盖自车模型的组装、跟随相机的实现、基于键盘控制的车辆移动与车轮转向,以及利用射线检测(Raycaster)实现车位点击与自动泊车逻辑。
简易版小车
由于之前使用的模型体积较大,导致加载速度缓慢,因此这里先自行构建一辆简化版的小车(后续统称为自车),具体效果如下图所示:
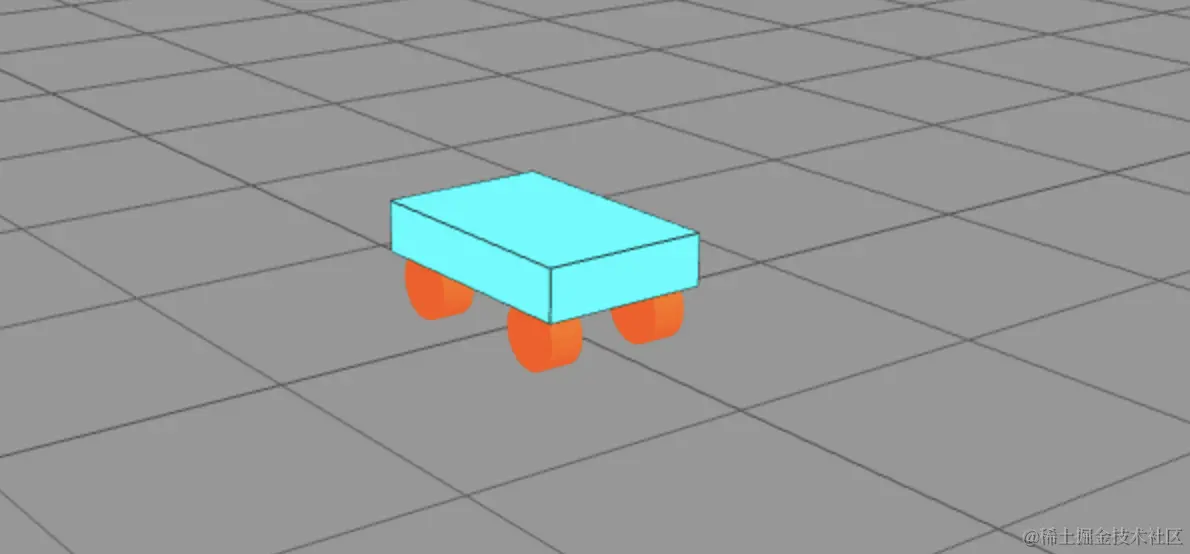
将车轮、车体和边框组合成一个 Group,以便于后续对自车进行统一操作,实现代码如下:
 // 自车车体
const geometry = new THREE.BoxGeometry(2, 0.6, 3);
const material = new THREE.MeshBasicMaterial({
  color: 0x00ffff,
  side: THREE.DoubleSide,
});
const vehicle = new THREE.Mesh(geometry, material);
vehicle.position.set(0, 1, 0);
scene.add(vehicle);
// 增加自车边框
const box = geometry.clone();
const edges = new THREE.EdgesGeometry(box);
const edgesMaterial = new THREE.LineBasicMaterial({
  color: 0x333333,
});
const line = new THREE.LineSegments(edges, edgesMaterial);
line.position.x = 0;
line.position.y = 1;
line.position.z = 0;
scene.add(line);
// 组成一个Group
const egoCar = new THREE.Group();
egoCar.name = "自车";
egoCar.add(vehicle, line);
scene.add(egoCar);
// 车轮
const axlewidth = 0.7;
const radius = 0.4;
const wheels: any[] = [];
const wheelObjects: any[] = [];
wheels.push({ position: [axlewidth, 0.4, -1], radius });
wheels.push({
  position: [-axlewidth, 0.4, -1],
  radius,
});
wheels.push({ position: [axlewidth, 0.4, 1], radius });
wheels.push({ position: [-axlewidth, 0.4, 1], radius });
wheels.forEach(function (wheel) {
  const geometry = new THREE.CylinderGeometry(
    wheel.radius,
    wheel.radius,
    0.4,
    32
  );
  const material = new THREE.MeshPhongMaterial({
    color: 0xd0901d,
    emissive: 0xee0000,
    side: THREE.DoubleSide,
    flatShading: true,
  });
  const cylinder = new THREE.Mesh(geometry, material);
  cylinder.geometry.rotateZ(Math.PI / 2);
  cylinder.position.set(
    wheel.position[0],
    wheel.position[1],
    wheel.position[2]
  );
  egoCar.add(cylinder);
  // 后面修改车轮方向会用到
  wheelObjects.push(cylinder);
});
跟车相机
为了让体验更佳,实现相机始终跟随自车移动的逻辑。
// ...
const camera = new THREE.PerspectiveCamera(45, width / height, 0.1, 800);
// 设置摄像机位置,并将其朝向场景中心
camera.position.x = 0;
// camera.position.y = 10;
// camera.position.z = 20;
// camera.lookAt(scene.position);
camera.lookAt(egoCar.position);
// ...
function animate() {
  stats.begin();
  controls.update();
  // 相机跟随自车
  camera.position.y = egoCar.position.y + 15;
  camera.position.z = egoCar.position.z + 25;
  camera.lookAt(egoCar.position);
  renderer.render(scene, camera);
  stats.end();
  requestAnimationFrame(animate);
}
// ...
自车行驶
实现自车的前进、后退以及左右转向功能。
// ...
// 记录开始按下的时间
let startTime = 0;
const activeKeys = new Set();
let t = 0;
document.addEventListener("keydown", (e) => {
  activeKeys.add(e.key);
  if (startTime === 0) {
    startTime = Date.now();
  }
  t = (Date.now() - startTime) / 1000;
  if (t > 10) {
    t = 10;
  }
});
document.addEventListener("keyup", (e) => {
  activeKeys.delete(e.key);
  if (activeKeys.size === 0) {
    startTime = 0;
  }
});
function animate() {
  stats.begin();
  controls.update();
  // 相机跟随自车
  camera.position.y = egoCar.position.y + 15;
  camera.position.z = egoCar.position.z + 25;
  camera.lookAt(egoCar.position);
  if (activeKeys.has("ArrowUp")) {
    // 估算对应方向的移动距离
    egoCar.position.z -= t * 0.1 * Math.cos(egoCar.rotation.y);
    egoCar.position.x -= t * 0.1 * Math.sin(egoCar.rotation.y);
  }
  if (activeKeys.has("ArrowDown")) {
    egoCar.position.z += t * 0.1 * Math.cos(egoCar.rotation.y);
    egoCar.position.x += t * 0.1 * Math.sin(egoCar.rotation.y);
  }
  if (activeKeys.has("ArrowLeft")) {
    egoCar.rotation.y += 0.01;
  }
  if (activeKeys.has("ArrowRight")) {
    egoCar.rotation.y -= 0.01;
  }
  renderer.render(scene, camera);
  stats.end();
  requestAnimationFrame(animate);
}
//...
车轮转动
遍历所有车轮对象,动态修改车轮的偏转角 rotation,以车头方向为基准,使其偏转固定的角度。
function animate() {
  // ...
  if (activeKeys.has("ArrowLeft")) {
    egoCar.rotation.y += 0.01;
    wheelObjects.forEach((wheel) => {
      wheel.rotation.y = egoCar.rotation.y + Math.PI / 4;
    });
  }
  if (activeKeys.has("ArrowRight")) {
    egoCar.rotation.y -= 0.01;
    wheelObjects.forEach((wheel) => {
      wheel.rotation.y = egoCar.rotation.y - Math.PI / 4;
    });
  }
  // ...
}
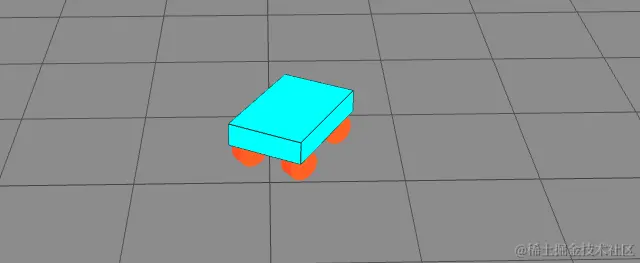
目前的行进效果略显僵硬(但已满足基本演示需求)。主要问题在于行进方向应跟随车头朝向,而非固定沿某个坐标轴方向。此处仅为简单模拟,后续计划引入物理库 cannon.js 来优化控制逻辑。
泊车功能
车位实现
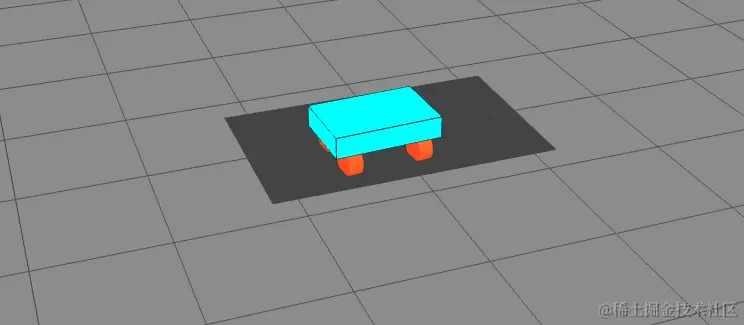
创建一个贴地的矩形框来模拟停车位,可以使用 THREE.PlaneGeometry 来创建平面几何体。
createParkingSpace() {
    const plane = new THREE.PlaneGeometry(8, 5);
    const material = new THREE.MeshPhongMaterial({
      color: 0x666666,
      side: THREE.DoubleSide,
    });
    const mesh = new THREE.Mesh(plane, material);
    mesh.rotation.x = -Math.PI / 2;
    mesh.position.set(10, 0.12, -20);
    this.scene?.add(mesh);
    // 增加自定义type,便于后面处理车位的选中逻辑
    mesh.userData.type = "parkingSpace";
}
现在我们将小车开过去,停放到该位置。
自动泊车
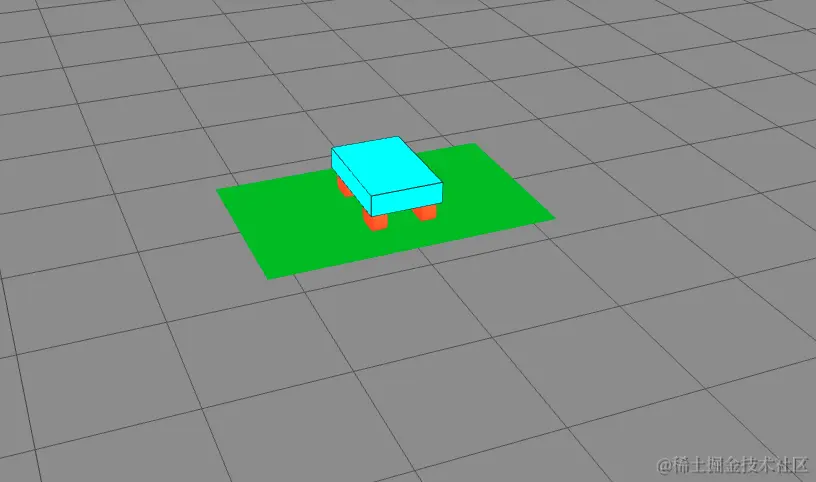
需要实现点击车位后高亮显示对应车位,随后小车自动行驶至指定位置并停稳。点击原理是通过射线方式采集第一个碰撞到的车位物体,当鼠标点击时,会依次执行以下步骤:
- 基于屏幕上的点击位置创建一个
THREE.Vector3向量。 - 使用
vector.unproject方法将屏幕上点击位置的坐标转换为 three.js 场景中的三维坐标。 - 创建
THREE.Raycaster,可以从摄像机的位置向场景中鼠标的点击位置发出一条射线。 raycaster.intersectObjects返回包含所有被射线穿过的对象信息的数组(按距离从短到长排序)。
function handleParkSpaceClick(event: any) {
  let vector = new THREE.Vector3(
    (event.clientX / window.innerWidth) * 2 - 1,
    -(event.clientY / window.innerHeight) * 2 + 1,
    0.5
  );
  vector = vector.unproject(camera);
  const raycaster = new THREE.Raycaster(
    camera.position,
    vector.sub(camera.position).normalize()
  );
  const intersects = raycaster.intersectObjects(scene.children);
  for (let i = 0; i < intersects.length; i++) {
    const obj = intersects[i];
    // @ts-ignore
    if (obj.object.userData.type === "parkingSpace")
      // @ts-ignore
      obj.object.material.color.set(0x00ff00);
  }
}
document.addEventListener("click", handleParkSpaceClick);
自动泊车的实现逻辑相对简单:此处仅保存了车位的位置信息,然后让小车按一定偏移量驶入。在实际场景中,还需考虑避障、加减速及偏转角等因素,这些通常不由前端处理。参考实现代码见 three-gta v0.1.1 -- 在线体验。
到此这篇关于利用threejs实现一个简易的泊车功能的文章就介绍到这了,更多相关threejs泊车功能内容请搜索本站以前的文章或继续浏览下面的相关文章希望大家以后多多支持本站!