

本文介绍如何在 ElementUI 的 el-dialog 组件中通过 Vue 自定义指令实现拖拽移动功能。通过创建独立的指令文件,监听鼠标事件修改弹窗位置,并在组件中注册使用,解决默认无法拖拽的问题。包含完整的指令代码、引入方式及模板示例,帮助开发者快速集成弹窗拖拽功能。
在开发过程中使用 ElementUI 的 el-dialog 组件时,发现其默认不支持拖拽移动。为了解决这一问题,通过查阅相关资料,决定采用 Vue 自定义指令的方式来实现弹窗的拖拽功能。
第一步,创建自定义指令文件。
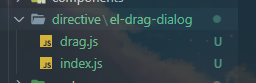
首先需要在项目中新建目录 directive/el-drag-dialog,并在该目录下创建 index.js 文件,用于导出指令。
import drag from "./drag";
const install = function (Vue) {
  Vue.directive("el-drag-dialog", drag);
};
if (window.Vue) {
  window["el-drag-dialog"] = drag;
  Vue.use(install);
}
drag.install = install;
export default drag;
接着在同一目录下创建 drag.js 文件,用于编写具体的拖拽逻辑代码。
export default {
  bind(el, binding, vnode) {
    const dialogHeaderEl = el.querySelector(".el-dialog__header");
    const dragDom = el.querySelector(".el-dialog");
    dialogHeaderEl.style.cssText += ";cursor:move;";
    dragDom.style.cssText += ";top:0px;";
    // 获取原有属性 ie dom元素.currentStyle 火狐谷歌 window.getComputedStyle(dom元素, null);
    const getStyle = (function () {
      if (window.document.currentStyle) {
        return (dom, attr) => dom.currentStyle[attr];
      } else {
        return (dom, attr) => getComputedStyle(dom, false)[attr];
      }
    })();
    dialogHeaderEl.onmousedown = (e) => {
      // 鼠标按下,计算当前元素距离可视区的距离
      const disX = e.clientX - dialogHeaderEl.offsetLeft;
      const disY = e.clientY - dialogHeaderEl.offsetTop;
      const dragDomWidth = dragDom.offsetWidth;
      const dragDomheight = dragDom.offsetHeight;
      const screenWidth = document.body.clientWidth;
      const screenHeight = document.body.clientHeight;
      const minDragDomLeft = dragDom.offsetLeft;
      const maxDragDomLeft = screenWidth - dragDom.offsetLeft - dragDomWidth;
      const minDragDomTop = dragDom.offsetTop;
      const maxDragDomTop = screenHeight - dragDom.offsetTop - dragDomheight;
      // 获取到的值带px 正则匹配替换
      let styL = getStyle(dragDom, "left");
      let styT = getStyle(dragDom, "top");
      if (styL.includes("%")) {
        styL = +document.body.clientWidth * (+styL.replace(/%/g, "") / 100);
        styT = +document.body.clientHeight * (+styT.replace(/%/g, "") / 100);
      } else {
        styL = +styL.replace(/\px/g, "");
        styT = +styT.replace(/\px/g, "");
      }
      document.onmousemove = function (e) {
        // 通过事件委托,计算移动的距离
        let left = e.clientX - disX;
        let top = e.clientY - disY;
        // 边界处理
        if (-left > minDragDomLeft) {
          left = -minDragDomLeft;
        } else if (left > maxDragDomLeft) {
          left = maxDragDomLeft;
        }
        if (-top > minDragDomTop) {
          top = -minDragDomTop;
        } else if (top > maxDragDomTop) {
          top = maxDragDomTop;
        }
        // 移动当前元素
        dragDom.style.cssText += `;left:${left + styL}px;top:${top + styT}px;`;
        // emit onDrag event
        vnode.child.$emit("dragDialog");
      };
      document.onmouseup = function () {
        document.onmousemove = null;
        document.onmouseup = null;
      };
    };
  },
};
第二步,在 Vue 项目中引入自定义指令。
import elDragDialog from "@/directive/el-drag-dialog";directives: {
elDragDialog
},第三步,在组件模板中使用自定义指令 v-el-drag-dialog。
<el-dialog
      v-el-drag-dialog
      title="提示"
      :visible.sync="dialogVisible"
      width="30%"
      :before-close="handleClose"
      v-if="dialogVisible"
    >
      <span>这是一段信息</span>
      <span slot="footer" class="dialog-footer">
        <el-button @click="dialogVisible = false">取 消</el-button>
        <el-button type="primary" @click="dialogVisible = false"
          >确 定</el-button
        >
      </span>
    </el-dialog>
这里 v-el-drag-dialog 是自定义指令的名称,而 v-if 指令主要用于控制弹窗的显示与隐藏,确保每次打开弹窗时都能重置到初始位置。
第四步,提供完整的代码实现。
<template>
  <div>
    <el-button @click="dialogVisible = true">打开弹框</el-button>
    <el-dialog
      v-el-drag-dialog
      title="提示"
      :visible.sync="dialogVisible"
      width="30%"
      :before-close="handleClose"
      v-if="dialogVisible"
    >
      <span>这是一段信息</span>
      <span slot="footer" class="dialog-footer">
        <el-button @click="dialogVisible = false">取 消</el-button>
        <el-button type="primary" @click="dialogVisible = false"
          >确 定</el-button
        >
      </span>
    </el-dialog>
  </div>
</template>
<script>
import elDragDialog from "@/directive/el-drag-dialog";
export default {
  name: "DialogView",
  directives: {
    elDragDialog,
  },
  data() {
    return {
      dialogVisible: false,
    };
  },
  methods: {
    handleClose() {
      this.dialogVisible = false;
    },
  },
};
</script>
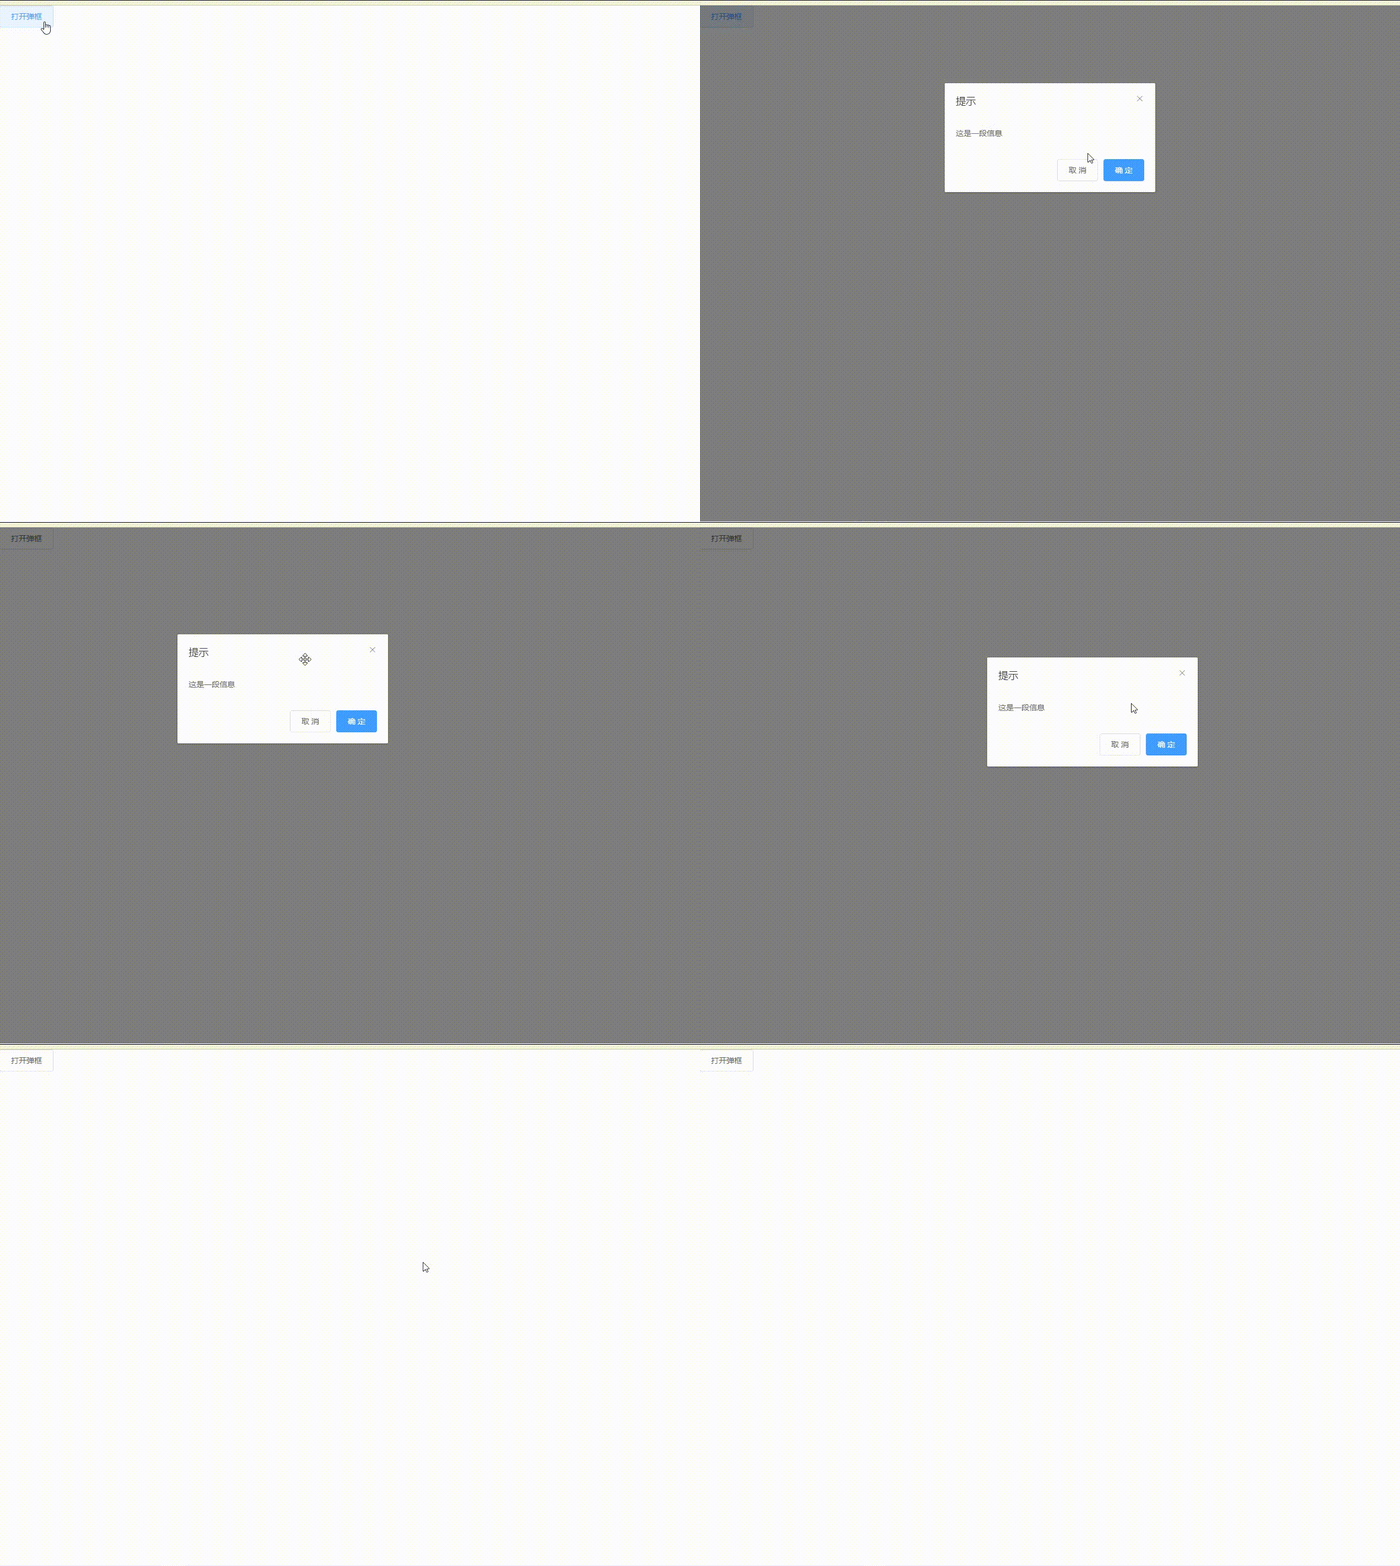
第五步,查看最终实现效果。
至此,关于 ElementUI 的 Dialog 弹窗实现拖拽移动功能的介绍已完成。如需了解更多相关技术内容,可搜索本站历史文章或继续阅读后续教程,感谢支持。