

本文介绍如何利用HTML5 Canvas API在网页中绘制动态流星雨效果。通过创建星星对象实现背景闪烁,利用createLinearGradient生成流星渐变轨迹,并结合requestAnimationFrame实现流畅的动画循环,最终合成完整的流星雨视觉盛宴。
前言
记忆中,儿时夏夜常坐在屋顶仰望星空,数着星星,一颗、两颗、三颗……偶尔一颗流星划过天际,虽转瞬即逝,却比繁星更引人注目。传说看见流星许愿能成真,那时便忘了数星星,只盼下一颗流星出现。可惜那晚流星未再现身,成了童年的小小遗憾。
如今,我尝试用Canvas技术重现这场流星雨,为大家呈现一段视觉体验。
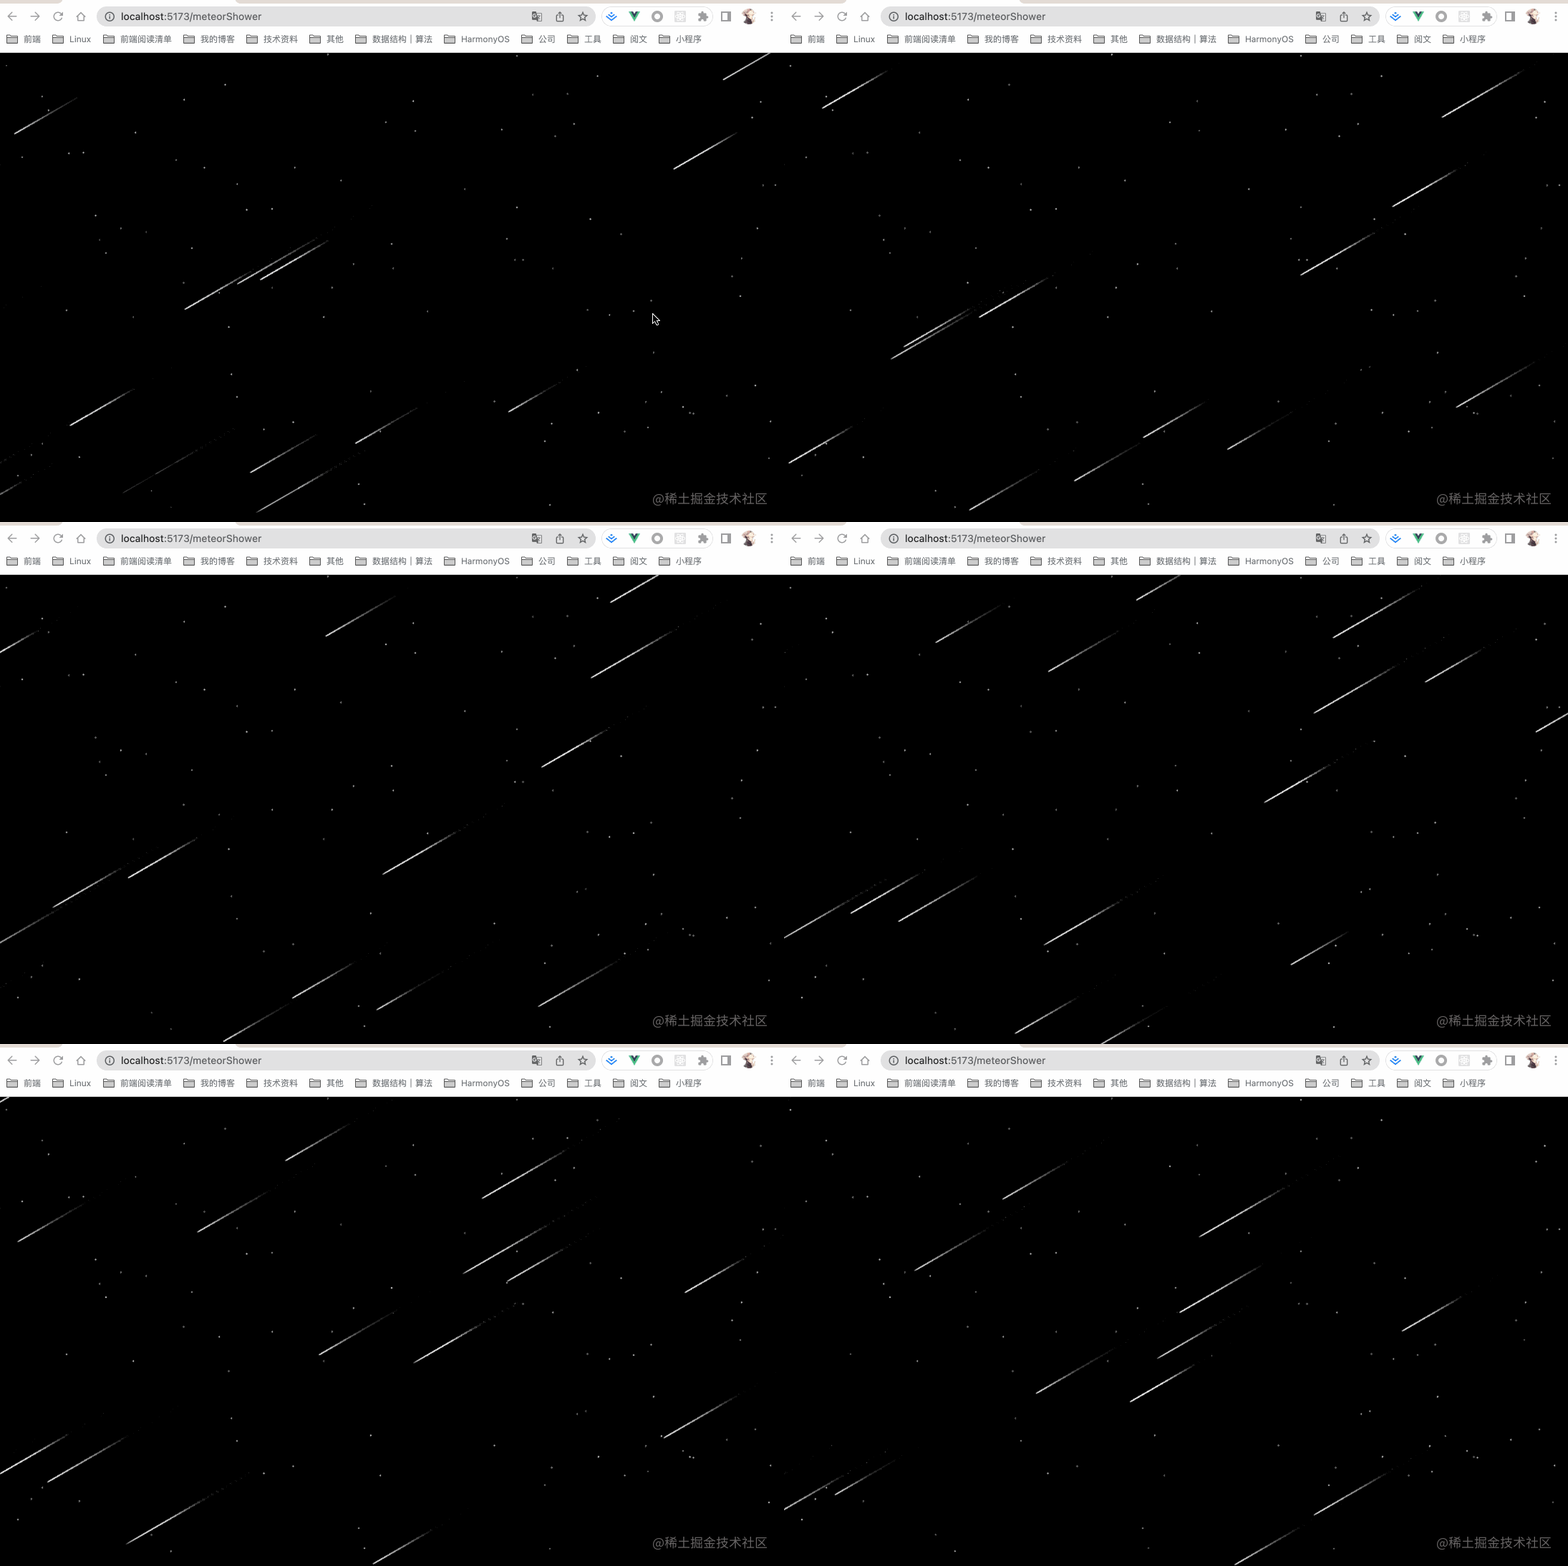
需求分析
实现该效果主要包含三个元素:夜空背景、闪烁的繁星以及划过的流星雨。
繁星效果:通过绘制大量点状元素,并不断交替其颜色,模拟星星闪烁的视觉效果。
流星雨效果:流星沿特定轨迹运动,当前位置最亮且轮廓清晰,随着距离增加逐渐变暗模糊。这利用Canvas提供的直线渐变方法实现,让流星从右上向左下移动,配合动画循环形成流星雨效果。
需求分析完毕,接下来进入代码实现阶段。
实现过程
1.绘制满天繁星
//创建一个星星对象
class Star {
  constructor() {
    this.x = windowWidth * Math.random(); //横坐标
    this.y = 5000 * Math.random(); //纵坐标
    this.text = "."; //文本
    this.color = "white"; //颜色
  }
  //初始化
  init() {
    this.getColor();
  }
  //绘制
  draw() {
    context.fillStyle = this.color;
    context.fillText(this.text, this.x, this.y);
  }
}

//画星星
for (let i = 0; i < starCount; i++) {
  let star = new Star();
  star.init();
  star.draw();
  arr.push(star);
}
初步效果如下:
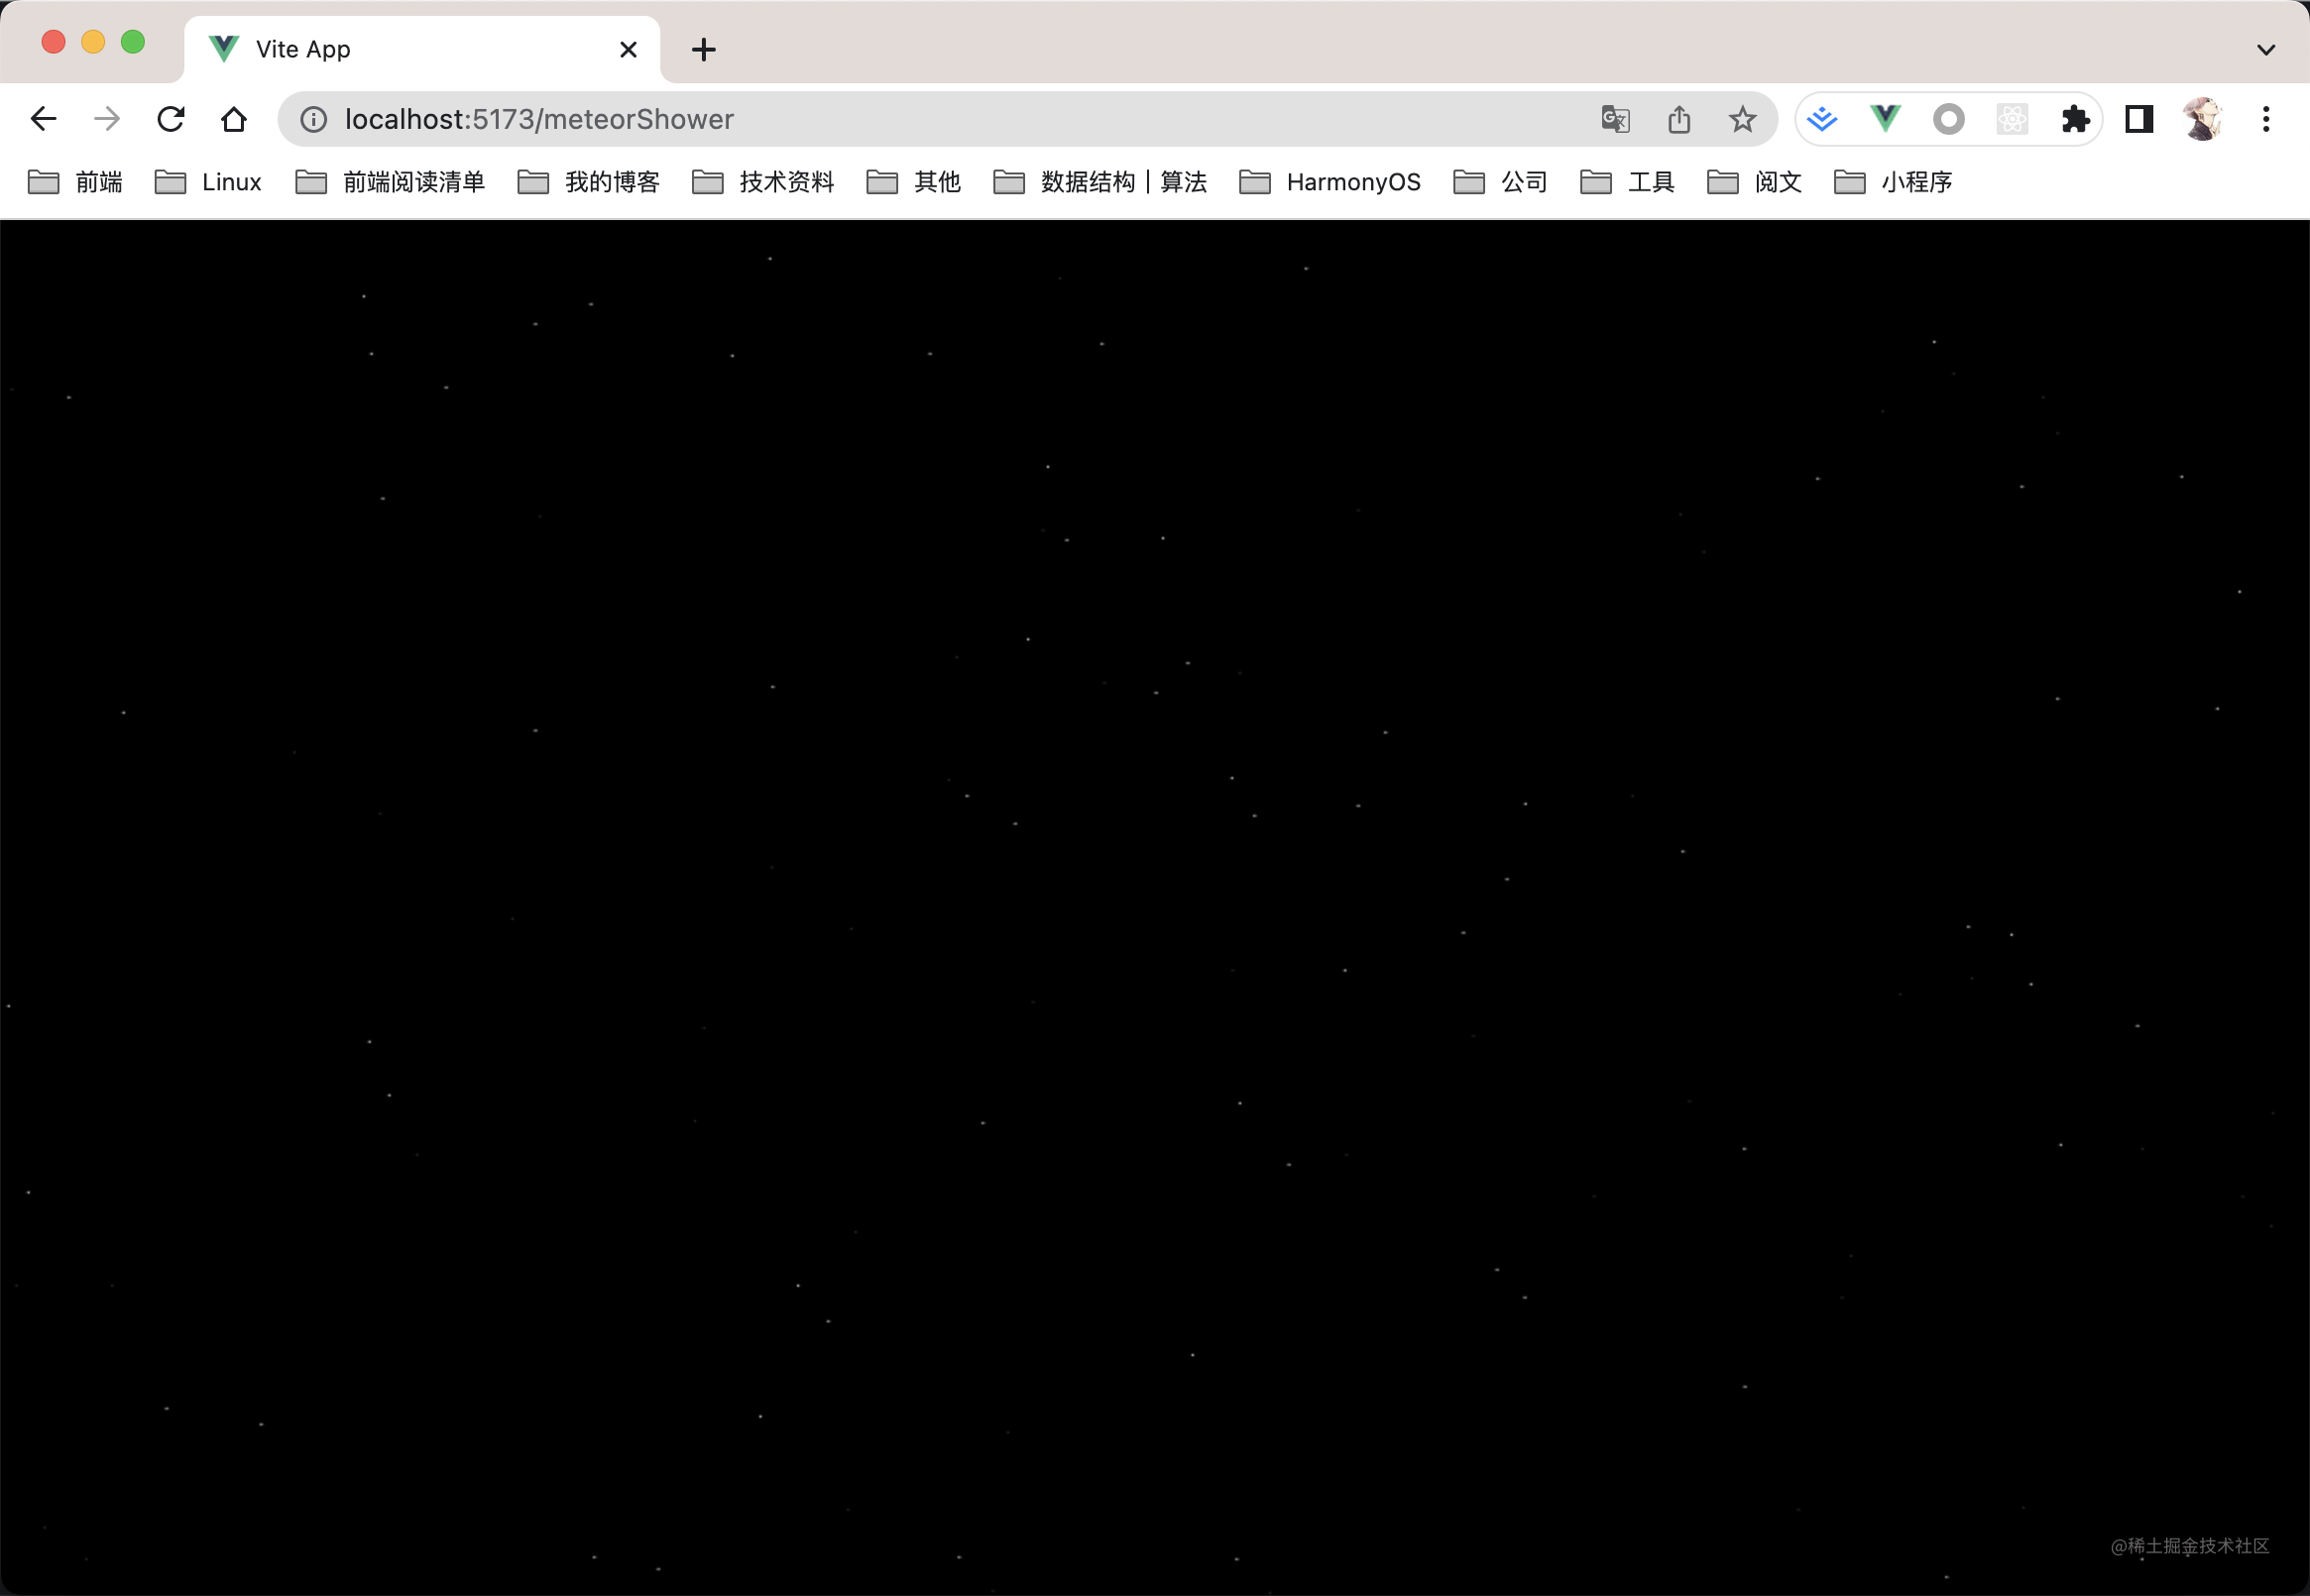
虽然夜空背景中有了繁星,但缺乏动态感,需要让星星闪烁起来以增强意境。
2.满天繁星闪起来
//创建一个星星对象
class Star {
  constructor() {
    this.x = windowWidth * Math.random(); //横坐标
    this.y = 5000 * Math.random(); //纵坐标
    this.text = "."; //文本
    this.color = "white"; //颜色
  }
	// 获取随机颜色
  getColor() {
    let _r = Math.random();
    if (_r < 0.5) {
      this.color = "#333";
    } else {
      this.color = "white";
    }
  }

  //初始化
  init() {
    this.getColor();
  }
  //绘制
  draw() {
    context.fillStyle = this.color;
    context.fillText(this.text, this.x, this.y);
  }
}

//画星星
for (let i = 0; i < starCount; i++) {
  let star = new Star();
  star.init();
  star.draw();
  arr.push(star);
}

//繁星闪起来
let t1
function playStars() {
  for (let n = 0; n < starCount; n++) {
    arr[n].getColor();
    arr[n].draw();
  }
  t1 = requestAnimationFrame(playStars);
}
实现闪烁的关键在于getColor方法,通过不断切换星星的颜色属性来模拟闪烁效果。
改进后的效果如下:
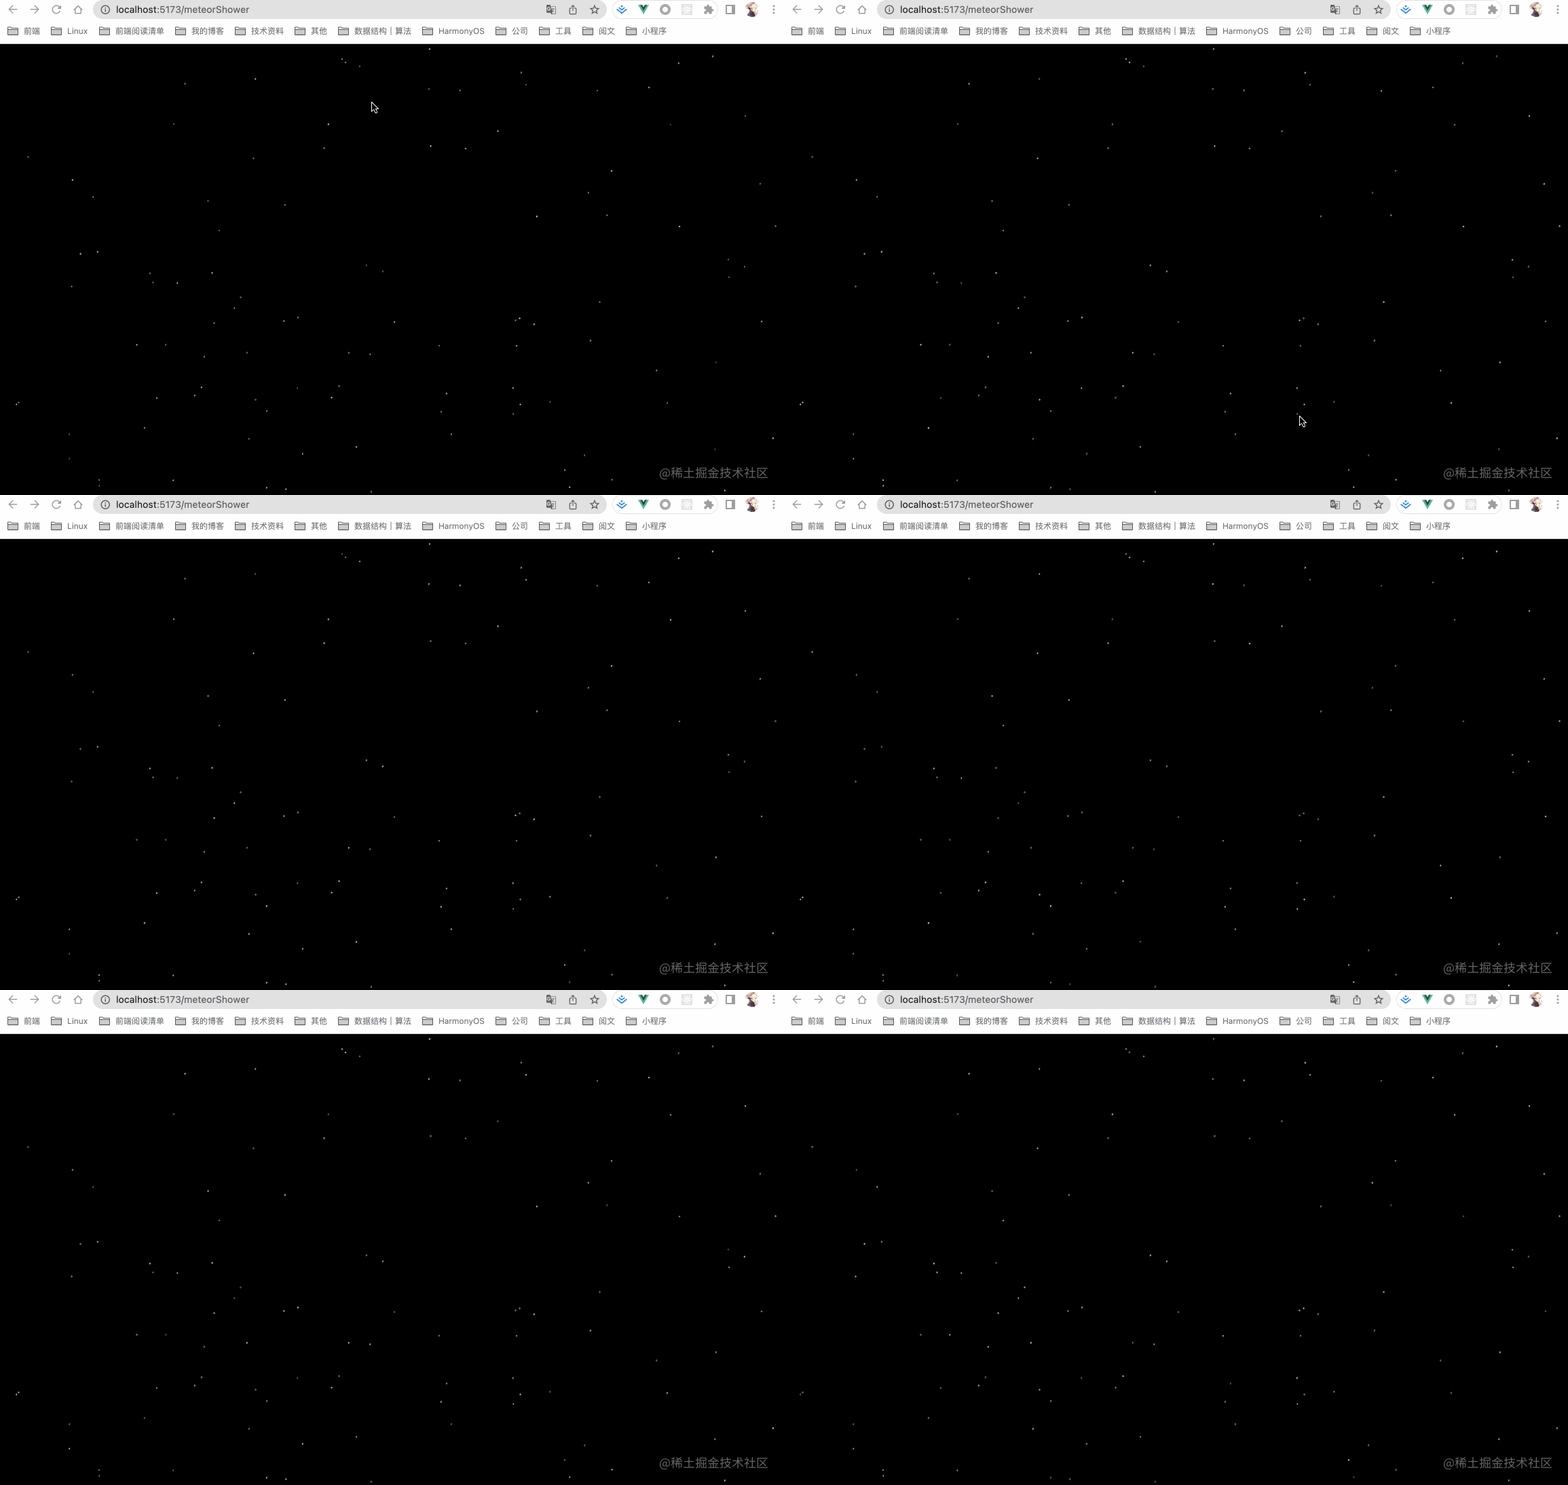
此时,星空开始有了生机,仿佛可以重新数起星星:一颗、两颗、三颗……
3.绘制流星
从原理上看,流星是一条渐变的线段:当前位置最亮清晰,随轨迹延伸逐渐变暗模糊。
核心API为createLinearGradient,用于创建指定坐标的线性渐变。
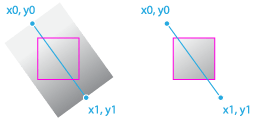
语法说明:
CanvasGradient ctx.createLinearGradient(x0, y0, x1, y1);
- x0:起点的 x 轴坐标。
- y0:起点的 y 轴坐标。
- x1:终点的 x 轴坐标。
- y1:终点的 y 轴坐标。
使用createLinearGradient() 方法初始化线性渐变,并添加三种颜色以模拟流星划过夜空时的渐变状态。
/**绘制流星**/
  draw() {
    //绘制一个流星的函数
    context.save();
    context.beginPath();
    context.lineWidth = 1; //宽度
    context.globalAlpha = this.alpha; //设置透明度
    //创建横向渐变颜色,起点坐标至终点坐标
    let line = context.createLinearGradient(
      this.x,
      this.y,
      this.x + this.width,
      this.y - this.height
    );
    //分段设置颜色
    line.addColorStop(0, "white");
    line.addColorStop(0.3, this.color1);
    line.addColorStop(0.6, this.color2);
    context.strokeStyle = line;
    //起点
    context.moveTo(this.x, this.y);
    //终点
    context.lineTo(this.x + this.width, this.y - this.height);
    context.closePath();
    context.stroke();
    context.restore();
  }
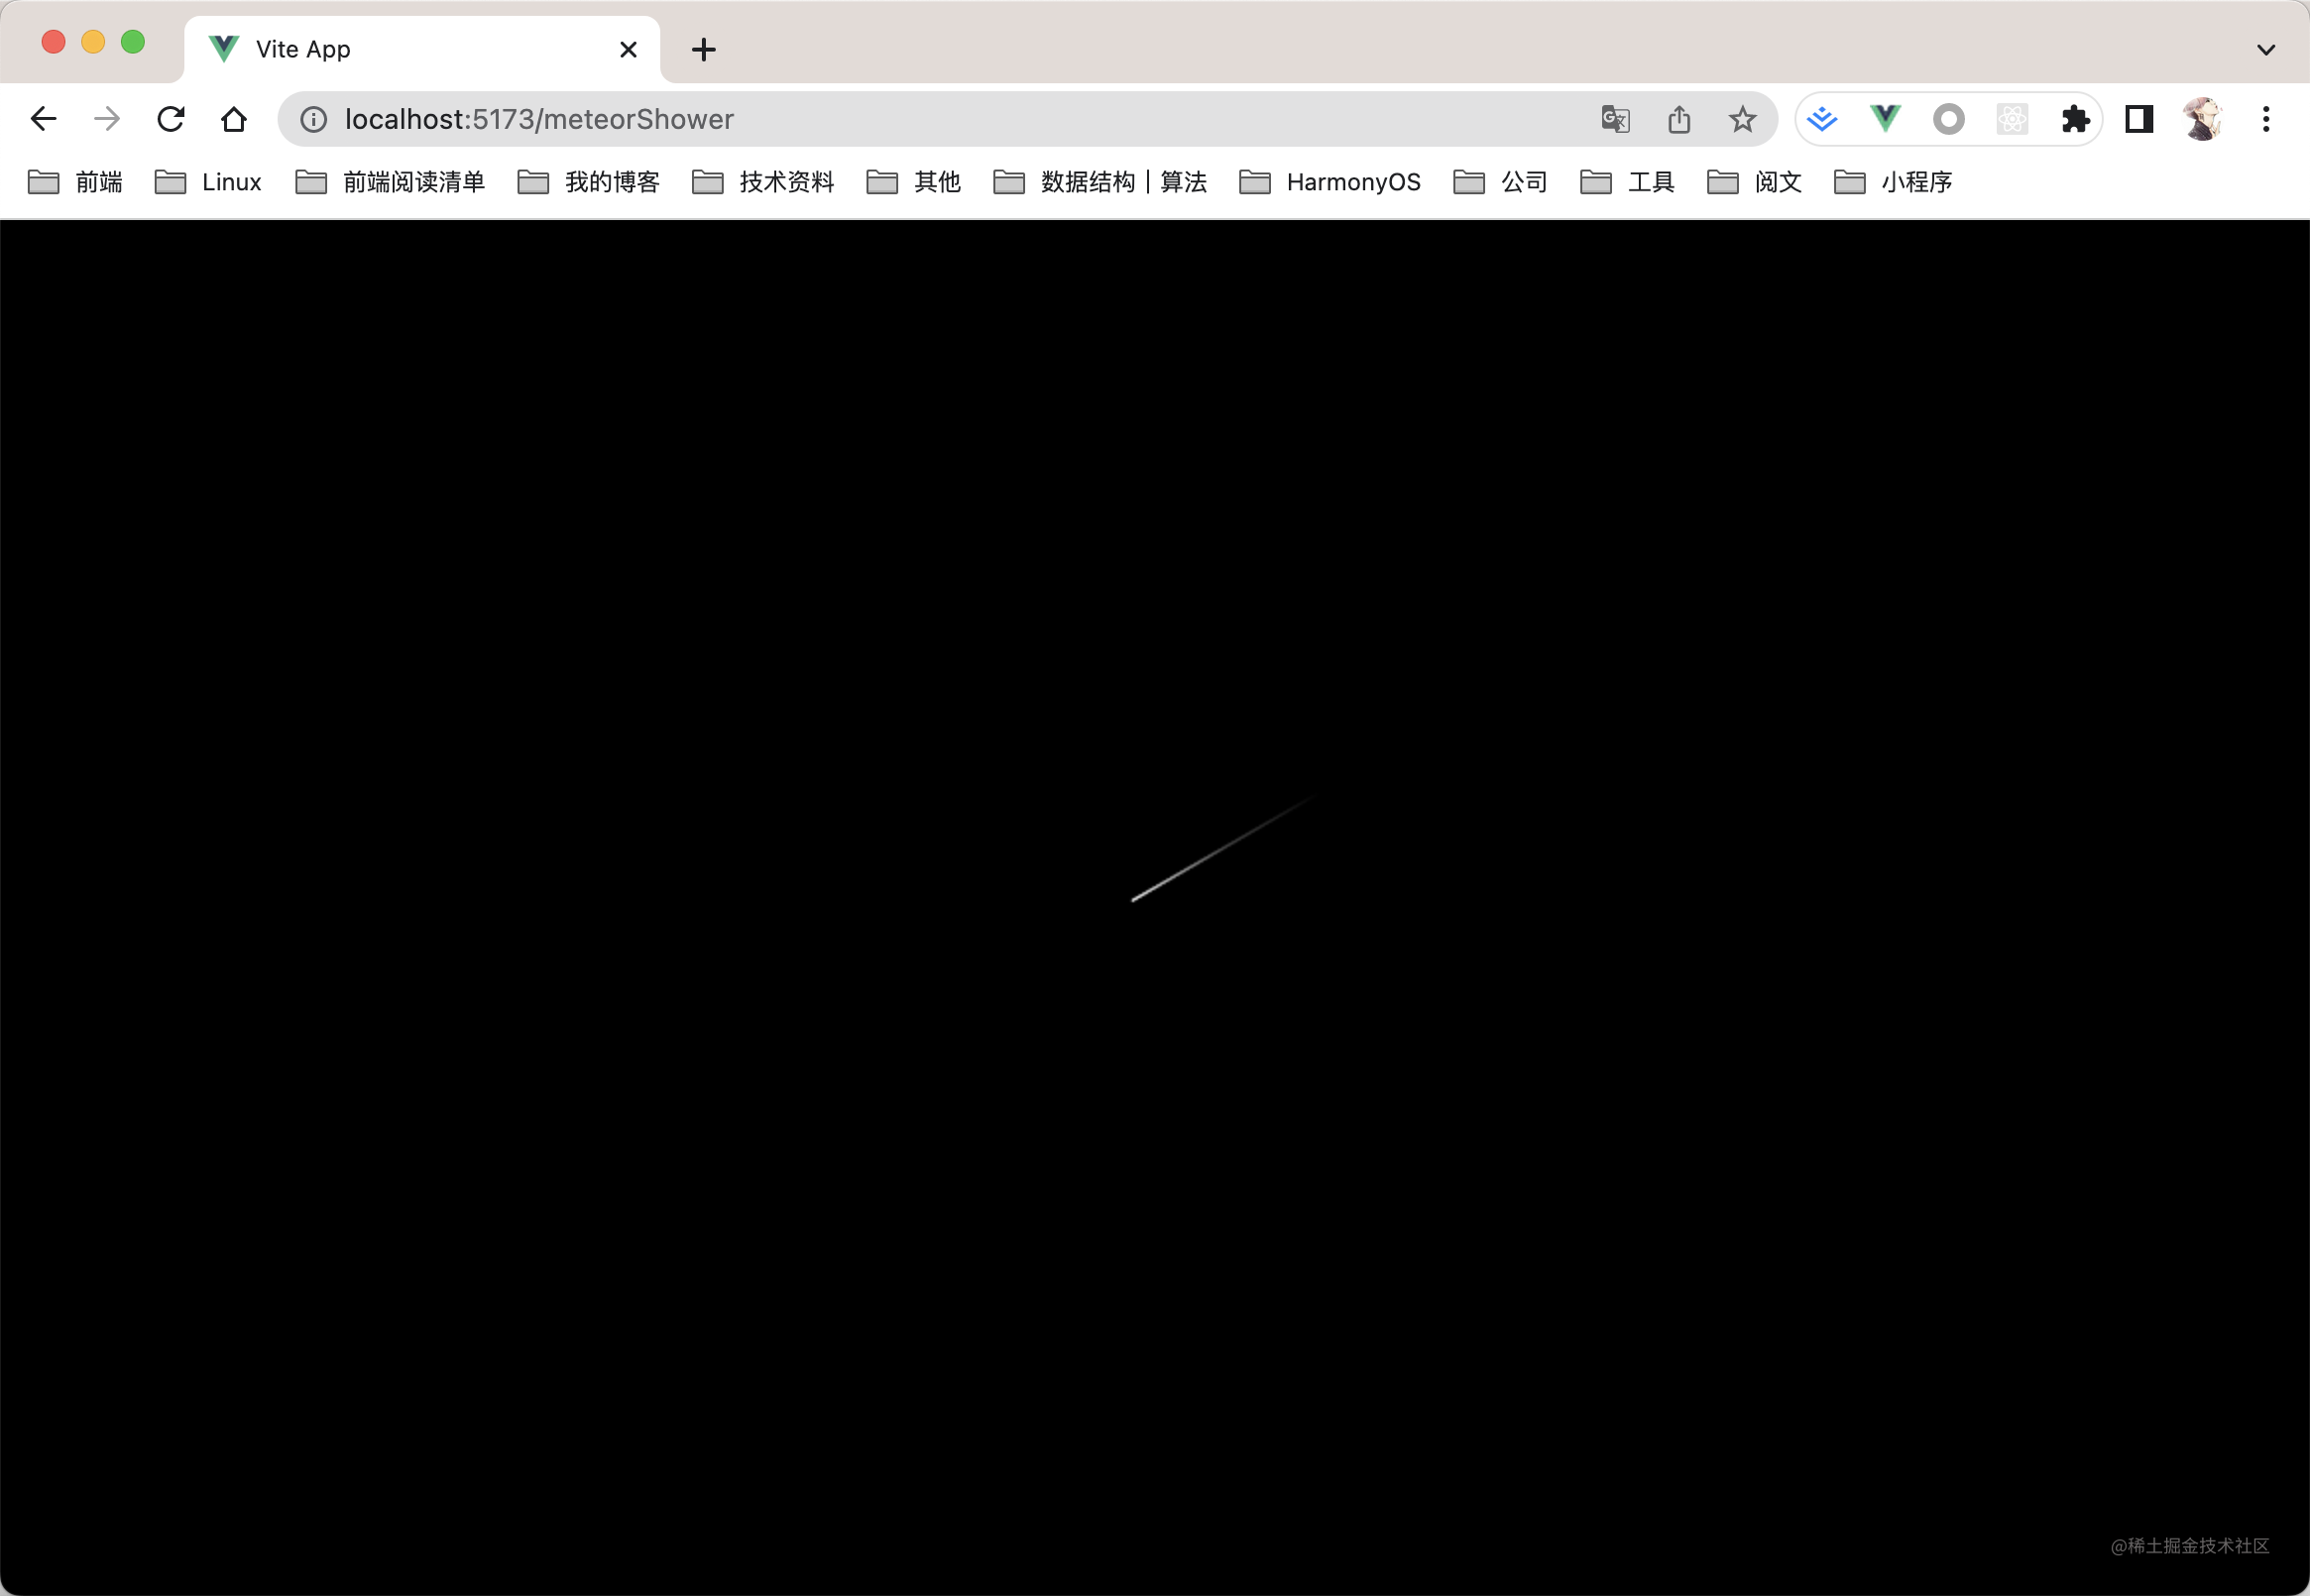
单个流星的绘制效果如下:
4.流星划过夜空
有了静态流星,接下来需通过不断更新位置坐标使其动起来。
move() {
    //清空流星像素
    let x = this.x + this.width - this.offset_x;
    let y = this.y - this.height;
    context.clearRect(x - 3, y - 3, this.offset_x + 5, this.offset_y + 5);
    //重新计算位置,往左下移动
    this.countPos();
    //透明度增加
    this.alpha -= 0.002;
    //重绘
    this.draw();
  }
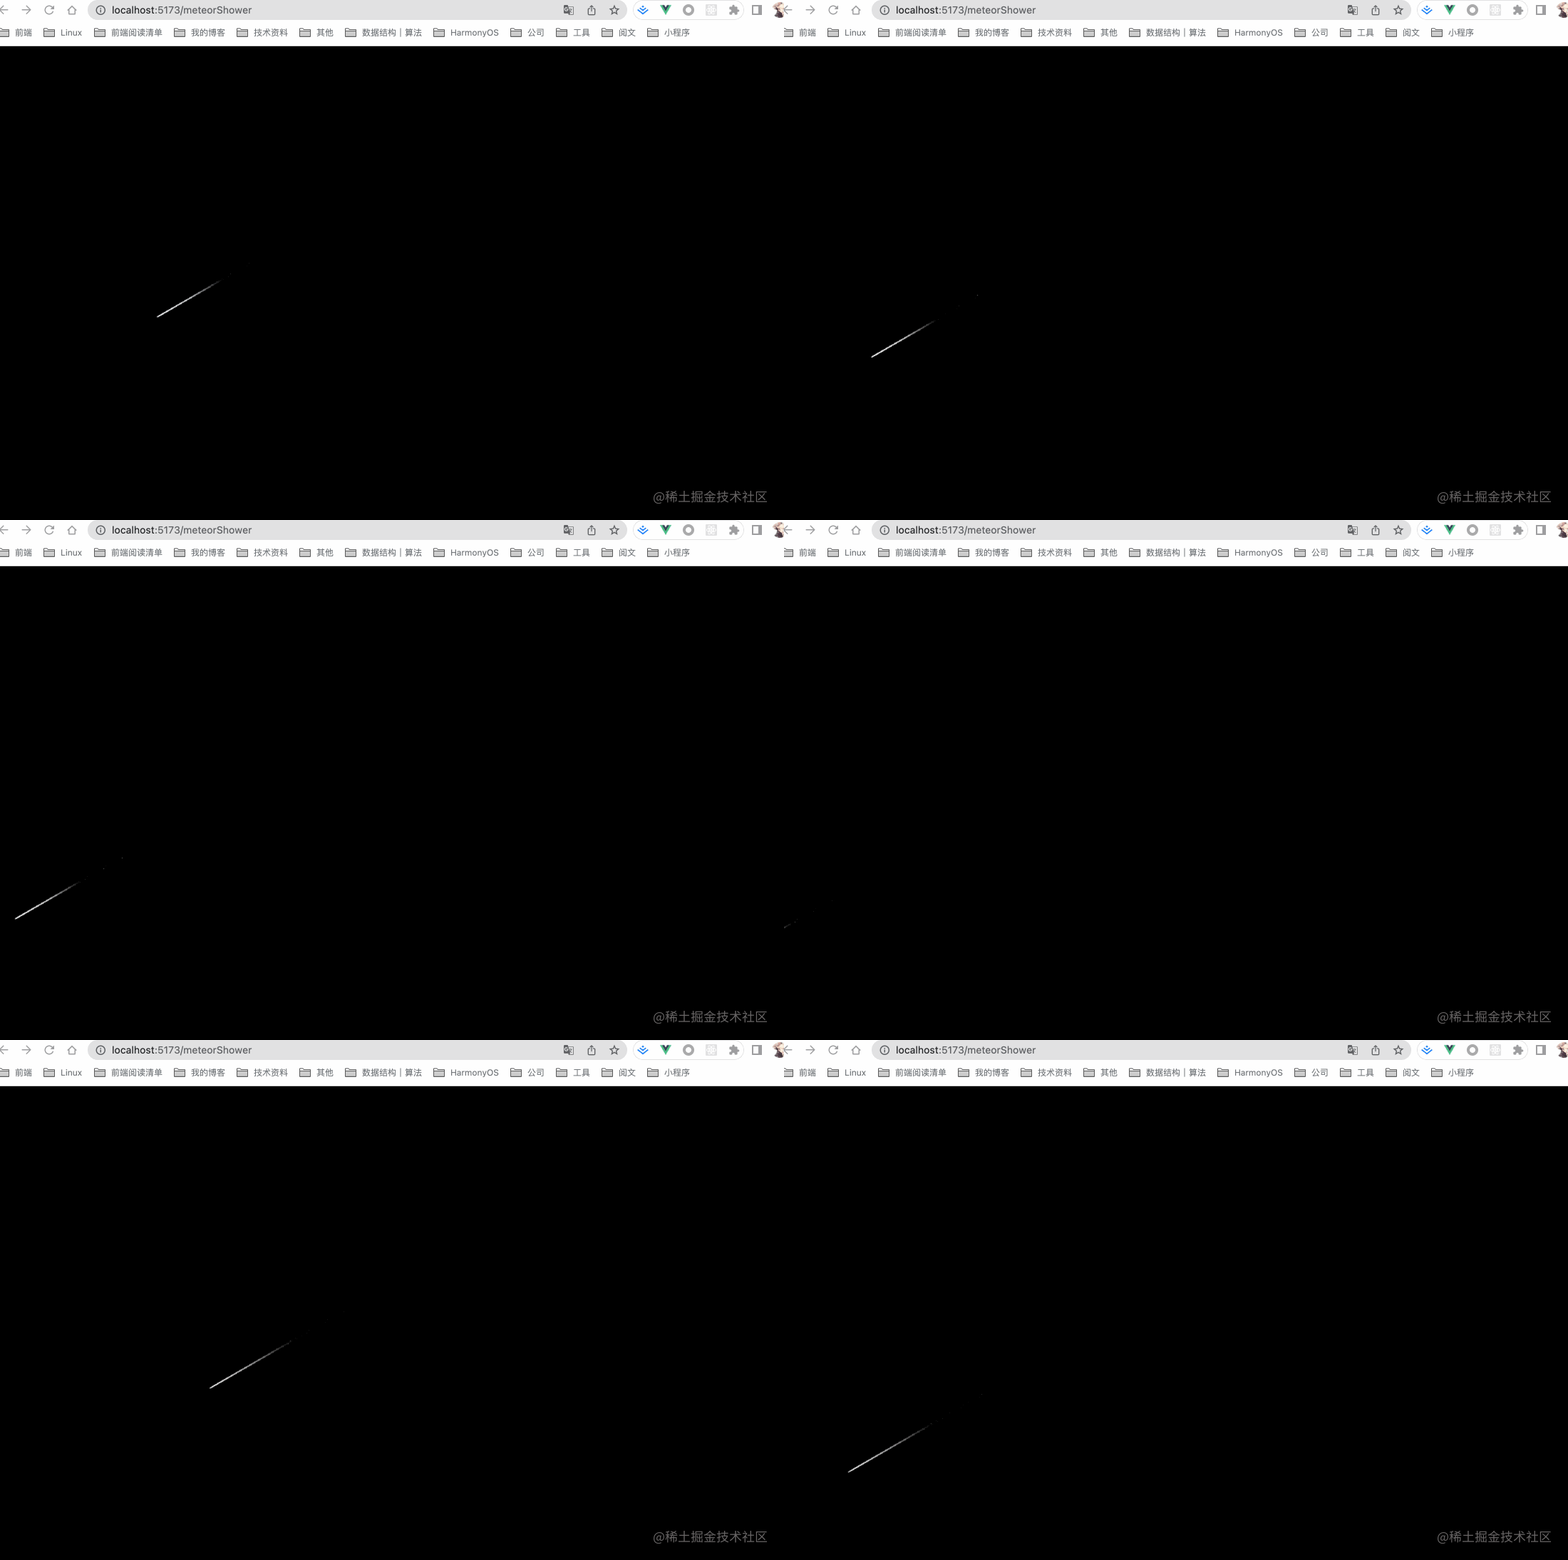
此时可看到单颗流星的效果。为了弥补童年的遗憾,这里将生成多颗流星组成流星雨。
5.流星雨
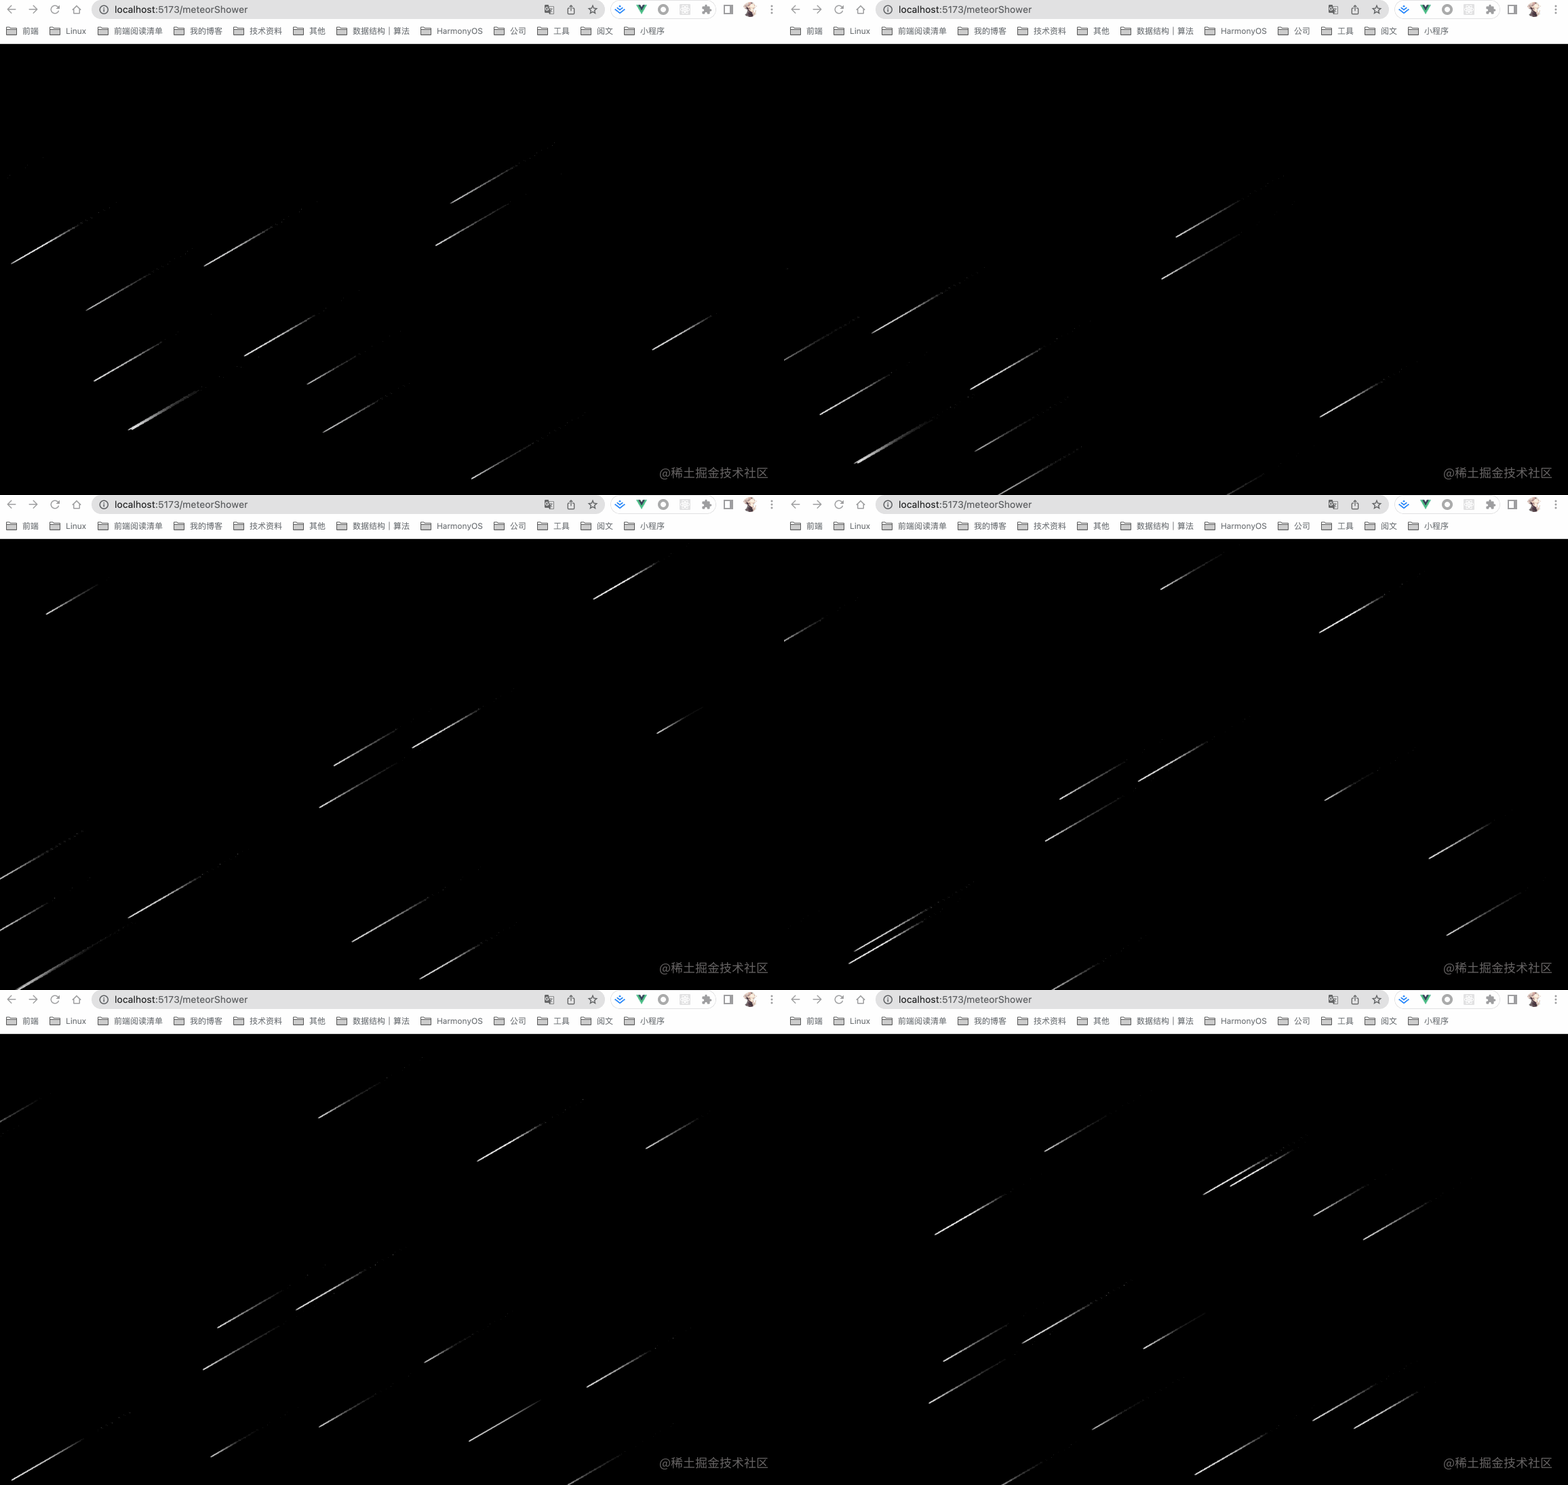
实现流星雨的关键是生成多个流星对象,并为每个对象分配不同的初始坐标和参数。
let t2
// 创建流星雨对象
class MeteorRain {
  constructor() {
    this.x = -1;
    this.y = -1;
    this.length = -1; //长度
    this.angle = 30; //倾斜角度
    this.width = -1; //宽度
    this.height = -1; //高度
    this.speed = 1; //速度
    this.offset_x = -1; //横轴移动偏移量
    this.offset_y = -1; //纵轴移动偏移量
    this.alpha = 1; //透明度
    this.color1 = ""; //流星的色彩
    this.color2 = ""; //流星的色彩
  }
  init() {
    //初始化
    this.getPos();
    this.alpha = 1; //透明度
    this.getRandomColor();
    //最小长度,最大长度
    let x = Math.random() * 80 + 150;
    this.length = Math.ceil(x);
    x = Math.random() + 0.5;
    this.speed = Math.ceil(x); //流星的速度
    let cos = Math.cos((this.angle * 3.14) / 180);
    let sin = Math.sin((this.angle * 3.14) / 180);
    this.width = this.length * cos;
    this.height = this.length * sin;
    this.offset_x = this.speed * cos;
    this.offset_y = this.speed * sin;
  }
  /**获取随机颜色函数**/
  getRandomColor() {
    let a = Math.ceil(255 - 240 * Math.random());
    //中段颜色
    this.color1 = "rgba(" + a + "," + a + "," + a + ",1)";
    //结束颜色
    this.color2 = "black";
  }
  /**重新计算流星坐标的函数**/
  countPos() {
    //
    //往左下移动,x减少,y增加
    this.x = this.x - this.offset_x;
    this.y = this.y + this.offset_y;
  }
  /**获取随机坐标的函数**/
  getPos() {
    //
    //横坐标
    this.x = Math.random() * window.innerWidth; //窗口高度
    //纵坐标
    this.y = Math.random() * window.innerHeight; //窗口宽度
  }
  /**绘制流星**/
  draw() {
    //绘制一个流星的函数
    context.save();
    context.beginPath();
    context.lineWidth = 1; //宽度
    context.globalAlpha = this.alpha; //设置透明度
    //创建横向渐变颜色,起点坐标至终点坐标
    let line = context.createLinearGradient(
      this.x,
      this.y,
      this.x + this.width,
      this.y - this.height
    );
    //分段设置颜色
    line.addColorStop(0, "white");
    line.addColorStop(0.3, this.color1);
    line.addColorStop(0.6, this.color2);
    context.strokeStyle = line;
    //起点
    context.moveTo(this.x, this.y);
    //终点
    context.lineTo(this.x + this.width, this.y - this.height);
    context.closePath();
    context.stroke();
    context.restore();
  }
  move() {
    //清空流星像素
    let x = this.x + this.width - this.offset_x;
    let y = this.y - this.height;
    context.clearRect(x - 3, y - 3, this.offset_x + 5, this.offset_y + 5);
    //重新计算位置,往左下移动
    this.countPos();
    //透明度增加
    this.alpha -= 0.002;
    //重绘
    this.draw();
  }
}

//绘制流星
function playRains() {
  for (let n = 0; n < rainCount; n++) {
    // console.log(rains, "--");
    let rain = rains[n];
    rain.move(); //移动
    if (rain.y > window.innerHeight) {
      //超出界限后重来
      context.clearRect(rain.x, rain.y - rain.height, rain.width, rain.height);
      rains[n] = new MeteorRain();
      rains[n].init();
    }
  }
  t2 = requestAnimationFrame(playRains);
}
6.merge视觉盛宴
流星极短暂的星星是也,它不像恒星和行星那般耀眼,却用短暂的生命,划破夜空,用瞬间潇洒的弧线留住美丽的光辉。昙花和流星瞬间之美令我无法忘怀,大自然神奇的造物者给了我们许多的美,不论瞬间的还是永恒的,我们都要用真心去欣赏去品味。
通过合并前五个步骤的代码,即可呈现出流星刹那交错、瞬间化为永恒的视觉效果。
以上就是JavaScript利用canvas绘制流星雨效果的详细内容,更多关于JavaScript canvas绘制流星雨的资料请关注本站其它相关文章!