

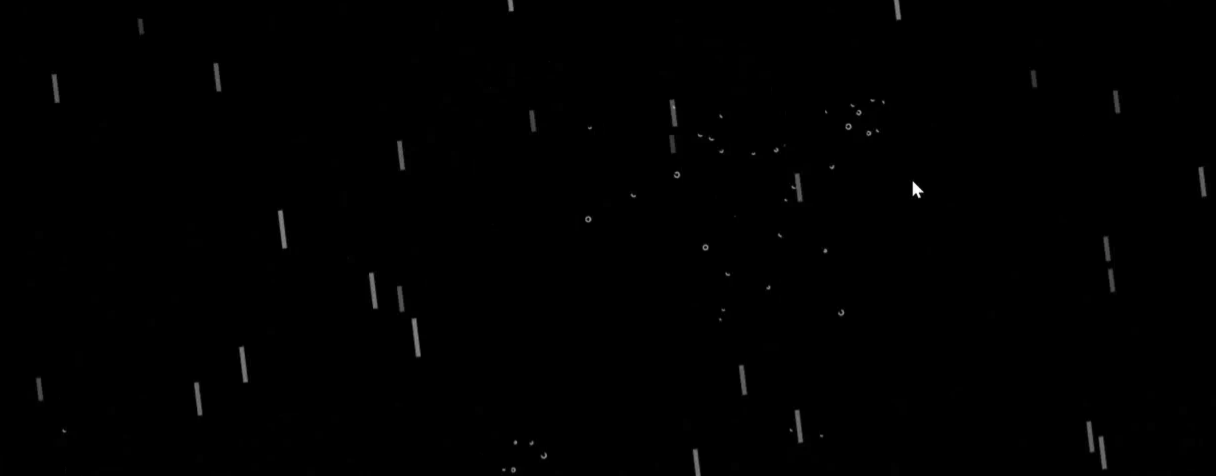
本文介绍如何利用HTML5 Canvas和JavaScript实现动态雨滴下落特效。通过获取Canvas上下文,结合鼠标移动事件控制雨滴水平速度,并运用requestAnimationFrame进行逐帧渲染。代码涵盖雨线生成、物理刷新及水滴渲染逻辑,展示完整的交互实现细节。
演示
技术栈
关于Canvas画布的介绍
HTML5中的canvas标签主要用于通过脚本(通常为JavaScript)来绘制图像。
需要注意的是,canvas元素本身仅作为图形容器,并不具备实际的绘图能力,具体的绘图任务必须借助脚本来完成。
通过调用getContext()方法,可以获取一个包含绘图方法和属性的对象,从而在画布上进行操作。
该对象提供的方法众多,此处仅列举几种常用方法,其他详细用法建议查阅相关文档。



源码
设置画布
<canvas id="canvas" style="position: absolute; height: 100%; width:100%;"></canvas>js部分
跟随鼠标移动
window.onmousemove=function (e)
 {
   mousePos[0]=e.clientX;
   mousePos[1]=e.clientY;
   maxspeedx=(e.clientX-canvasEl.clientWidth/2)/(canvasEl.clientWidth/2);
 }
创建雨线
function createLine(e)
  {
   var temp= 0.25*( 50+Math.random()*100);
    var myline={
      speed:5.5*(Math.random()*6+3),
      die:false,
      posx:e,
      posy:-200,
      h:temp,
      color:getRgb(Math.floor(temp*255/75),Math.floor(temp*255/75),Math.floor(temp*255/75))
    };
    linelist.push(myline);
  }
雨点的刷新
 function update() {
    if(dropList.length>0)
    {
       dropList.forEach(function (e) {
         e.vx=e.vx+(speedx)/2;
         e.posx=e.posx+e.vx;
         e.vy=e.vy+gravity;
         e.posy=e.posy+e.vy;
         if(e.posy>canvasEl.clientHeight)
         {
           e.die=true;
         }
       });
    }
    for(var i=dropList.length-1;i>=0;i--)
    {
      //delite die
      if(dropList[i].die){
        dropList.splice(i,1);
      }
    }

    speedx=speedx+(maxspeedx-speedx)/50;

    if(Math.random()>0)
    {
    createLine(Math.random()*2*canvasEl.width-(0.5*canvasEl.width));
    createLine(Math.random()*2*canvasEl.width-(0.5*canvasEl.width));
    createLine(Math.random()*2*canvasEl.width-(0.5*canvasEl.width));
    }
    var mydeadline=canvasEl.clientHeight- Math.random()*canvasEl.clientHeight/5;
     linelist.forEach(function (e) {
       var dis=Math.sqrt( ((e.posx+speedx*e.h)-mousePos[0])*((e.posx+speedx*e.h)-mousePos[0])+(e.posy+e.h-mousePos[1])*(e.posy+e.h-mousePos[1]));
       if(dis<35)
       {
         madedrops(e.posx+speedx*e.h,e.posy+e.h);
         e.die=true;
       }

       if((e.posy+e.h)>mydeadline)
       {
         if(Math.random()>0.85)
         {
           madedrops(e.posx+speedx*e.h,e.posy+e.h);
           e.die=true;
         }
       }
       if(e.posy>=canvasEl.clientHeight)
       {
         e.die=true;
       }else{
         e.posy=e.posy+e.speed;
         e.posx=e.posx+(e.speed*speedx);
       }
     });
       for(var i=linelist.length-1;i>=0;i--)
    {
      if(linelist[i].die){
        linelist.splice(i,1);
      }
    }
     render();
     window.requestAnimationFrame(update);
  }
雨点的渲染
function  render() {
    ctx.fillStyle = backgroundColor;
    ctx.fillRect(0, 0, canvasEl.width, canvasEl.height);

     linelist.forEach(
      function (line) {

        ctx.strokeStyle =line.color;
        ctx.lineWidth=4.5;
        ctx.beginPath();
        ctx.moveTo(line.posx,line.posy);
        ctx.lineTo(line.posx+speedx*line.h,line.posy+line.h);
        ctx.stroke();
      });
       ctx.lineWidth=1;
          ctx.strokeStyle = "#fff";
          dropList.forEach(function (e) {
           ctx.beginPath();
           ctx.arc(e.posx,e.posy,e.radius,Math.random()*Math.PI*2,1*Math.PI);
           ctx.stroke();
       });
}
以上就是基于JavaScript实现动态雨滴特效的详细内容,更多关于JavaScript动态雨滴特效的资料请关注本站其它相关文章!