

本文介绍如何使用 JavaScript 实现鼠标拖动滑块效果。通过监听 mousedown、mousemove 和 mouseup 事件,结合 CSS 定位动态修改元素的 top 和 left 属性,从而在页面上实现平滑的拖动交互。
JavaScript 实现鼠标拖动滑块效果
本文分享了一段使用 JavaScript 实现拖动滑块功能的完整代码示例,供读者参考学习。
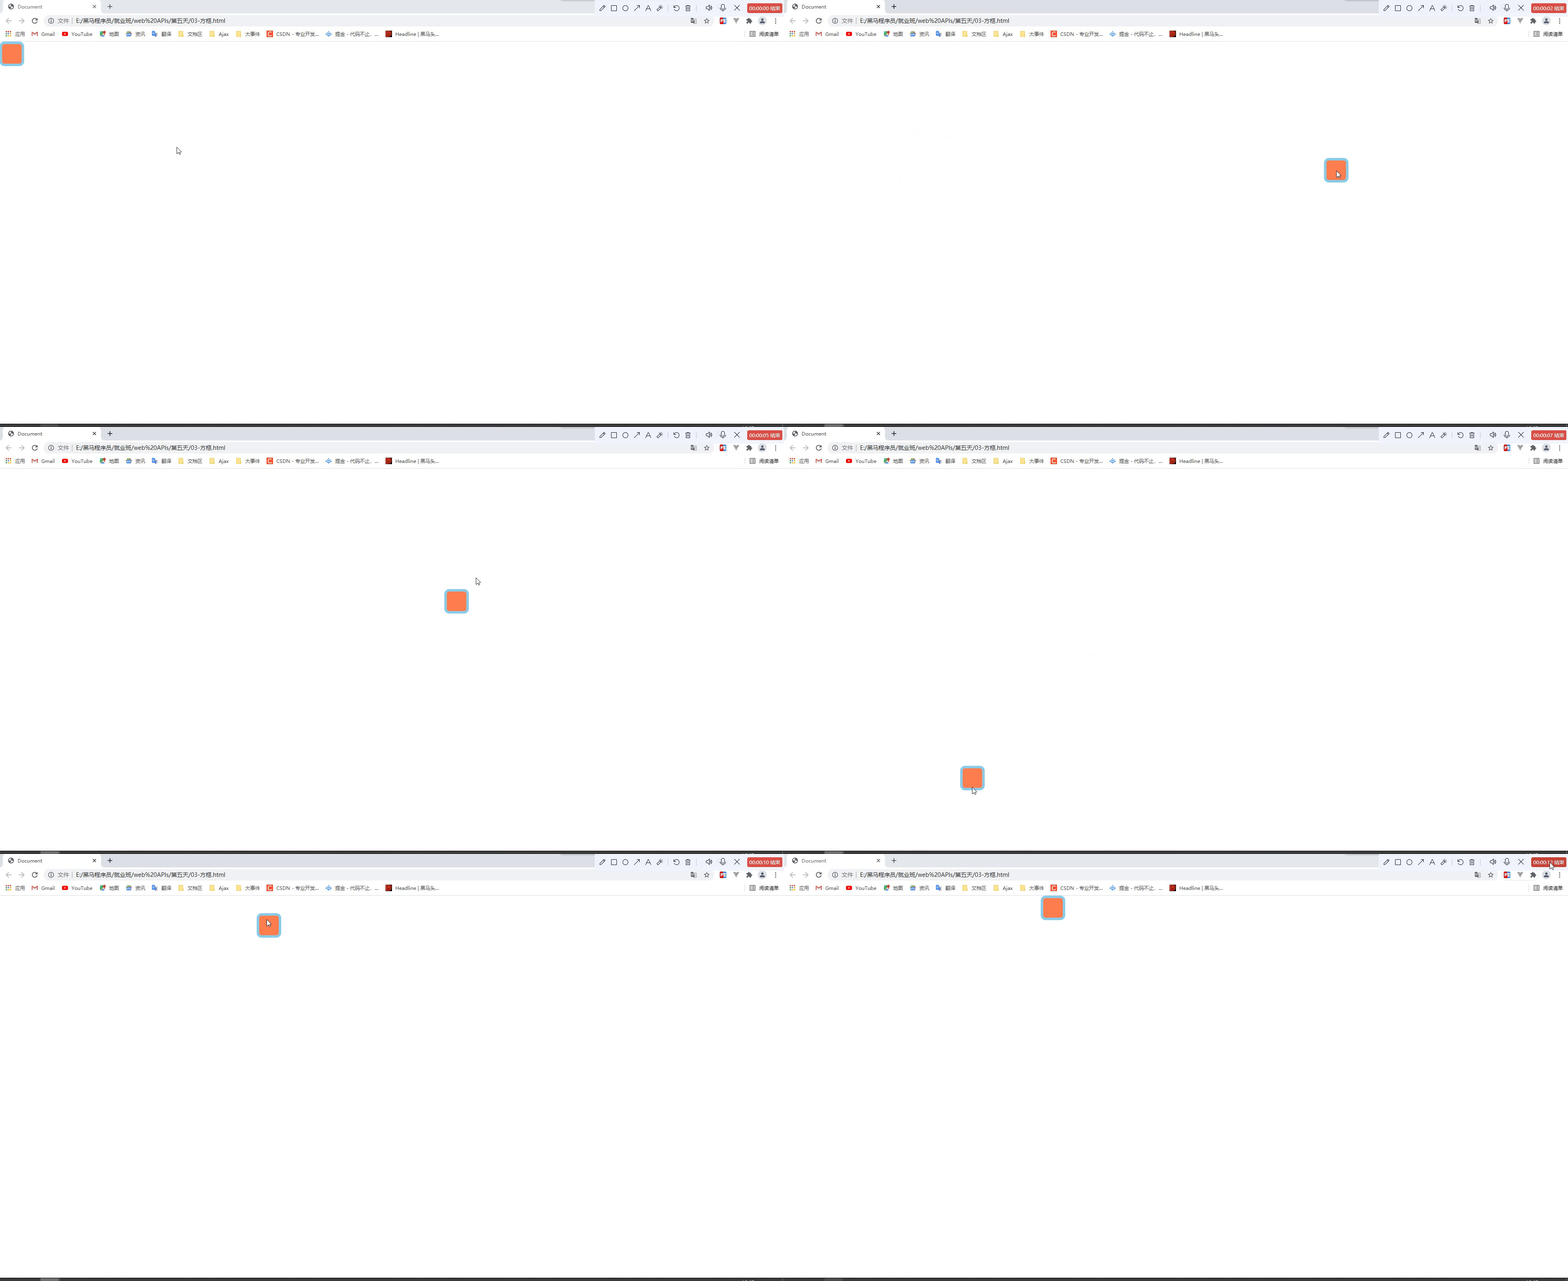
要实现滑块拖动功能,首先需要分析其核心逻辑:滑块的移动本质上是改变其在页面中的坐标位置。因此,我们需要利用 CSS 定位属性获取元素的 top 和 left 值,并对其进行动态赋值。接下来是事件的处理,由于涉及鼠标拖动操作,必须绑定 mousedown、mousemove 和 mouseup 这三种事件。具体流程为:当触发 mousedown(鼠标按下)事件时选中滑块;在触发 mousemove(鼠标移动)事件时执行拖动操作,此时需实时获取鼠标在可视窗口内的坐标,并将这些坐标值赋给滑块的 top 和 left 属性,从而实现滑块跟随鼠标移动的效果。
以下是具体的代码实现部分。
<!DOCTYPE html>
<html lang="en">

<head>
    <meta charset="UTF-8">
    <meta http-equiv="X-UA-Compatible" content="IE=edge">
    <meta name="viewport" content="width=device-width, initial-scale=1.0">
    <title>Document</title>
    <style>
        * {
            margin: 0;
            padding: 0;
            box-sizing: border-box;
        }

        div {
            width: 60px;
            height: 60px;
            background-color: coral;
            border-radius: 20%;
            position: absolute;
            border: 6px solid skyblue;
            left: 0;
            top: 0;
        }
    </style>
</head>

<body>
    <div></div>
    <script>
        let div = document.querySelector('div')
        let x, y
        let fn = function (e) {
            // console.log('hhhhhhhh')
            div.style.left = e.clientX - x + 'px'
            div.style.top = e.clientY - y + 'px'
            if (e.clientX - x < 30) {
                div.style.left = 0
            }
            if (e.clientY - y < 30) {
                div.style.top = 0
            }
            if (e.clientX - x > document.documentElement.clientWidth - div.offsetWidth - 30) {
                div.style.left = document.documentElement.clientWidth - div.offsetWidth + 'px'
            }
            if (e.clientY - y > document.documentElement.clientHeight - div.offsetHeight - 30) {
                div.style.top = document.documentElement.clientHeight - div.offsetHeight + 'px'
            }
        }
        div.addEventListener('mousedown', function (e) {
            x = e.offsetX
            y = e.offsetY
            document.addEventListener('mousemove', fn)
        })
        div.addEventListener('mouseup', function () {
            document.removeEventListener('mousemove', fn)
        })
    </script>
</body>

</html>
运行效果展示。
以上就是本文的全部内容,希望上述示例能对读者的学习有所帮助,同时也欢迎大家继续支持本站。